How to Glass for Montana Mule Deer
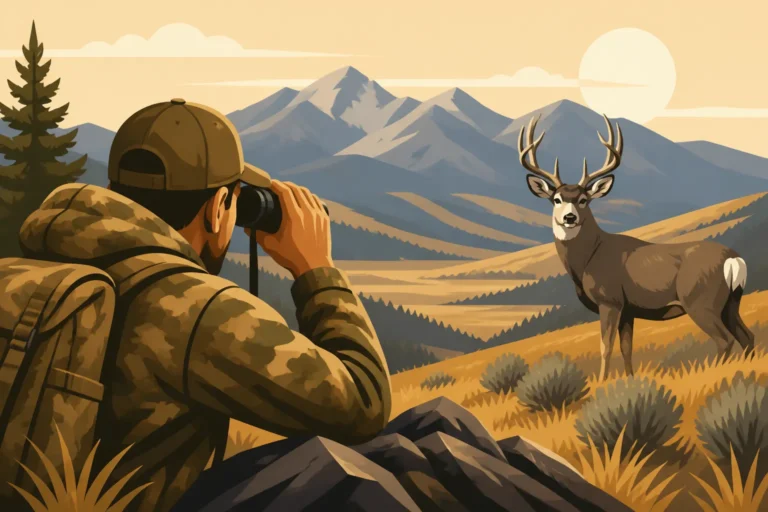
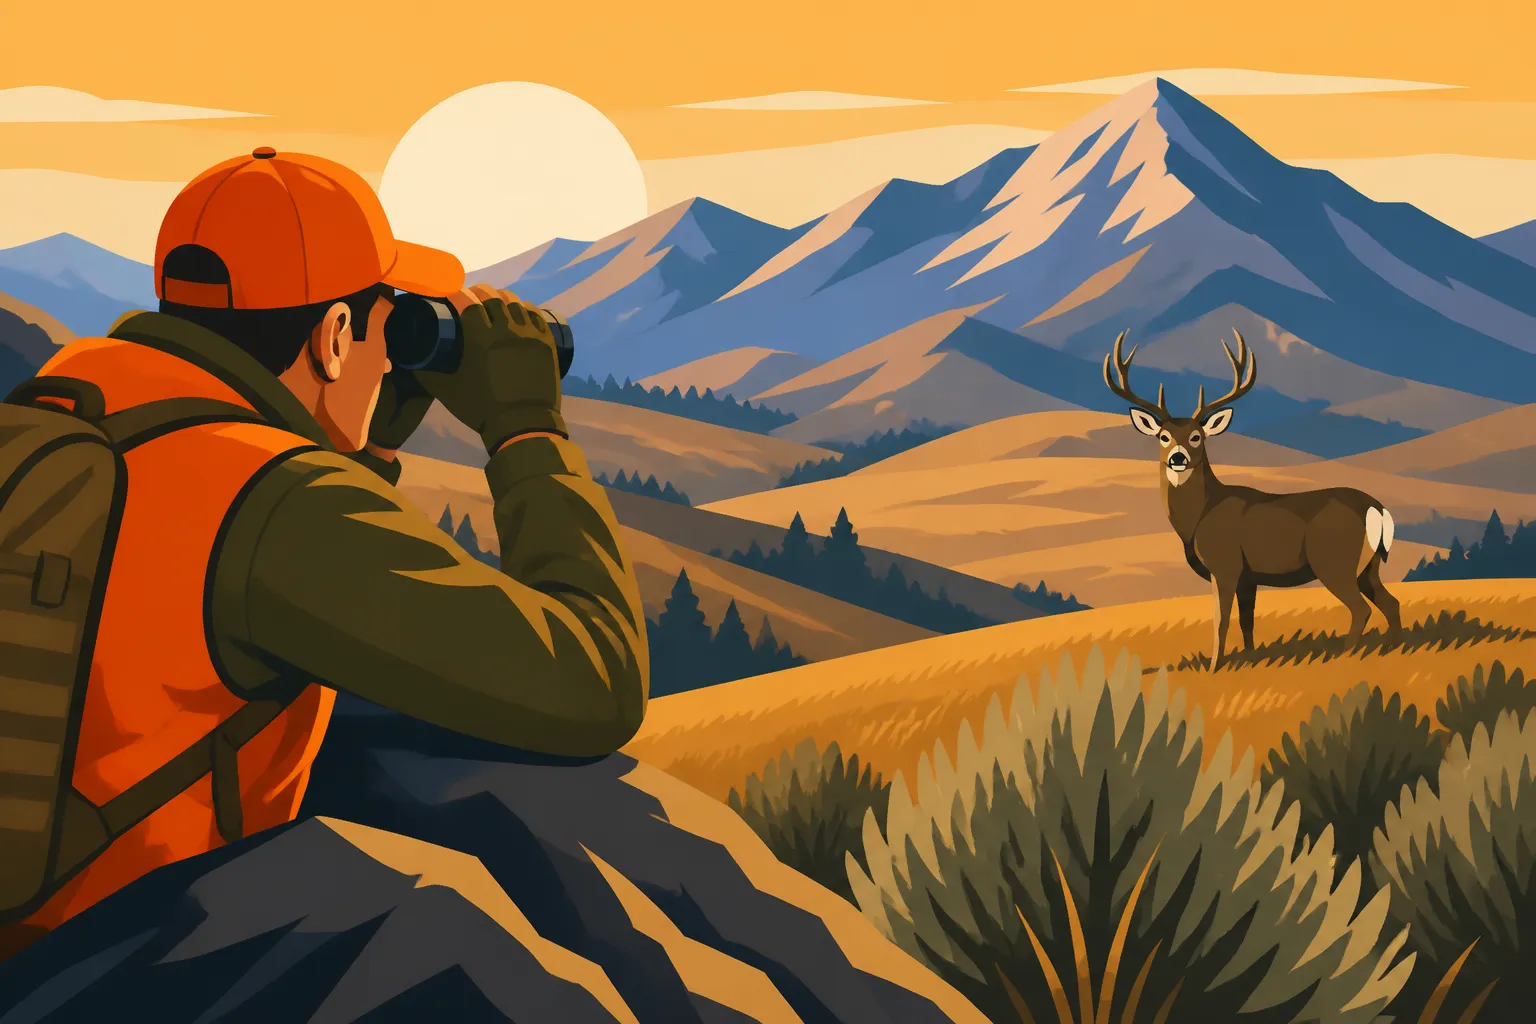
Hunting mule deer in Montana can feel like searching for a needle in a haystack made of endless prairies, deep coulees, and timbered draws. These elusive creatures often melt into their surroundings, leaving many hunters frustrated after days of walking without a sighting. But there's a powerful tool that can dramatically increase your odds and transform your hunting experience: effective glassing. This guide will walk you through everything you need to know to spot those big bucks before they even know you're there.
Why Glassing is King for Montana Mule Deer Hunting
Montana's landscapes are breathtakingly vast, and mule deer, unlike their whitetail cousins, often prefer open, broken country where they can see danger coming from a distance. Trying to walk up on these deer, especially mature bucks, is usually a recipe for busted opportunities and worn-out boots. This is where glassing becomes your absolute best strategy, allowing you to cover immense territory visually and find deer without disturbing them.
The Vastness of Montana Mule Deer Country
Imagine standing on a ridge overlooking miles of rolling hills, deep canyons, and brushy draws in Eastern Montana or the high plains. Or perhaps you're in the Breaks, with its intricate network of river-carved coulees and sagebrush flats. Mule deer thrive in these expansive, often rugged, environments. They don't typically live in dense timber like whitetails do in many parts of the state; instead, they prefer areas where they can utilize topography for cover and escape, making them perfect candidates for spotting from a distance.
Trying to physically walk every inch of this country would be impossible, and frankly, counterproductive. Mule deer are masters of using small folds in the terrain, a patch of bitterbrush, or the shadow of a juniper to disappear. By sitting back with quality optics, you can systematically pick apart these landscapes, essentially "walking" the ground with your eyes from a comfortable, elevated position. This conserves your energy for the stalk, which is when you'll truly need it, and significantly reduces the chance of spooking deer that are miles away. It's a strategic advantage that allows you to hunt smarter, not harder, across Montana's sprawling public lands. For a broader understanding of where these magnificent animals reside, check out our Montana Mule Deer: Where to Find Them guide.
Spotting Subtle Clues from Afar
Mule deer are incredibly camouflaged, their coats blending seamlessly with the browns, grays, and tans of Montana's autumn landscape. From a distance, it's rare to spot an entire deer standing in the open, waving at you. More often, you're looking for subtle anomalies: the horizontal line of a deer's back in a sea of vertical brush, a flicker of an ear, the shine of an antler tip, or the distinct shape of a deer bedded down.
Effective glassing isn't just about seeing a deer; it's about seeing what doesn't belong. It's training your eyes to differentiate between a rock and a rump, a broken branch and an antler, or a shadow and a leg. This takes practice, patience, and the right tools, but it's a skill that pays off handsomely. You'll learn to recognize the common spots where mule deer bed down to escape the midday sun, like north-facing slopes or the shady side of a deep coulee, and focus your attention there. Often, the first thing you'll pick up is a small piece of a deer, like a single white patch on its rear, a black nose, or the subtle outline of an ear flicking to ward off flies.
Essential Optics for Mule Deer Glassing
You wouldn't try to drive a nail with a screwdriver, and you shouldn't try to glass for mule deer with subpar optics. Your binoculars and spotting scope are your most critical tools for this type of hunting. Investing in quality glass isn't a luxury; it's a necessity that will directly impact your success. There's a reason seasoned Montana hunters will spend as much, if not more, on their optics as on their rifle. For a comprehensive overview of gear, including optics, consider our Best Optics for Montana Big Game article.
Binoculars: Your Primary Tool
Your binoculars are your workhorse. They're what you'll use for 90% of your glassing, from quick scans to hours-long grid searches. For mule deer in Montana's wide-open country, you'll want something more powerful than standard 8x binoculars. Most serious mule deer hunters opt for 10×42, 12×50, or even 15×56 binoculars. The higher magnification allows you to resolve more detail at greater distances, which is crucial for distinguishing a deer from its surroundings.
When choosing binoculars, focus on optical clarity and light gathering capability. Brands like Swarovski Optik, Zeiss, and Leica are considered top-tier for a reason – their glass is exceptional, offering bright, crisp images even in low light. Vortex Optics and Maven Built also offer fantastic performance at a slightly more accessible price point. While 10x might be fine for closer, timbered country, for the vast expanses of Eastern Montana or the Missouri Breaks, a 12x or 15x will give you a significant advantage in finding deer bedded miles away. Remember, the objective lens size (the second number, like 42 or 50) dictates how much light enters, so larger is generally better for dawn and dusk when deer are most active. Carrying a pair of high-quality 12x or 15x binoculars will allow you to quickly cover ground visually and identify potential areas where bucks might be holding tight.
Spotting Scopes: Reaching Out and Touching Them
Once your binoculars pick up a potential deer or a suspicious shape in the distance, your spotting scope comes into play. This is your magnifying glass, allowing you to zoom in and confirm if that distant speck is indeed a mule deer, and more importantly, to evaluate its size and antler potential. Without a spotting scope, many of those subtle clues you find with your binoculars would remain unidentifiable, leading to unnecessary, long walks.
Spotting scopes typically range in power from 20-60x or 27-60x, with objective lenses often between 65mm and 95mm. The larger the objective, the more light it gathers, which is critical for clear images at high magnification and in varying light conditions. An 85mm objective scope from a reputable brand will provide excellent clarity and brightness. When using a spotting scope, remember that image quality degrades at the highest magnifications, so you often get the clearest image at mid-range power settings. It's also vital for judging antler size from afar, a skill you'll want to hone. If you're looking to gauge a buck's trophy potential, a spotting scope is indispensable for learning How to Field Judge a Montana Mule Deer Buck.
Tripods and Mounts: Stability is Non-Negotiable
Trying to handhold 12x or 15x binoculars for extended periods, let alone a spotting scope at 60x, is an exercise in futility. The slightest tremor in your hand will translate into a wild wobble in your field of view, making it nearly impossible to pick out subtle details. A sturdy, lightweight tripod is an absolute non-negotiable piece of equipment for effective mule deer glassing.
Your tripod should be robust enough to hold your optics steady in varying wind conditions but light enough to pack into the backcountry. Carbon fiber models are popular for their excellent strength-to-weight ratio. Pair your tripod with a fluid head or a pan head that allows for smooth, precise adjustments. A good tripod setup means you can comfortably glass for hours, minimizing fatigue and maximizing your ability to detect movement or subtle shapes. Many hunters also use a binocular adapter (often called a bino-tripod adapter) to mount their binoculars directly to the tripod, turning them into a powerful, stable observation tool for initial wide-area scans. Having your binoculars mounted on a tripod for primary glassing significantly reduces eye strain and helps you maintain focus, a key factor in sustained glassing efforts.
Mastering the Art of Grid Searching
Glassing isn't about aimlessly staring at the landscape; it's a systematic approach. The "grid search" method is a proven technique that ensures you cover every inch of visible terrain, leaving no stone unturned (or no coulee un-scanned). This disciplined approach prevents you from missing a bedded buck just because you were distracted by a more obvious feature.
Breaking Down the Landscape
Before you even raise your binoculars, take a moment to survey the entire area with your naked eye or a lower-power binocular. Identify distinct features: major ridgelines, prominent draws, patches of timber, rock outcroppings, and open flats. Mentally or even physically (if you're e-scouting with tools like GoHunt, which can mark areas) divide the landscape into manageable sections.
Start with the furthest reaches of the area you intend to glass, then work your way closer. This helps your eyes adjust and prevents you from getting distracted by closer, less relevant details. Think about where a mule deer might realistically be bedded or feeding. Are there north-facing slopes that offer shade during midday? Are there brushy draws that provide cover and forage? Focus your initial breakdown on these high-probability areas, but don't neglect the less obvious spots. Often, a mature buck will bed in an unexpected place to avoid pressure. Pay close attention to transition zones where different habitat types meet, like where open sagebrush meets a treeline or a cultivated field borders a brushy creek bottom. These transition areas are frequently travel corridors or feeding grounds for mule deer.
The Systematic Scan
Once you've broken down the landscape, it's time for the systematic scan. This is where the "grid" comes in. Start at the top of your chosen section, typically the highest ridgeline or prominent feature. Pick a distinct point in the far distance, and slowly, deliberately, move your binoculars across that horizontal plane, pausing regularly to let your eyes adjust and search for anomalies. Think of it like reading a book, left to right, line by line.
Once you've scanned across that horizontal strip, drop your binoculars slightly, overlap your previous field of view by about 20-30%, and scan back in the opposite direction (right to left). Continue this process, moving down the landscape line by line, until you've covered the entire section. The key is slow and deliberate. Don't rush. Many hunters miss deer because they sweep their optics too quickly. Allow your eyes to settle at each pause, giving your brain time to process the image and pick out those subtle differences. It can be tedious, especially in monotonous terrain, but this methodical approach is what separates successful glassers from those who constantly wonder where the deer are.
Interpreting What You See and Don't See
Finding a deer is exciting, but just as important is interpreting what you don't see. When you've meticulously grid-searched a section and come up empty, you've gained valuable information: there are likely no deer in that specific area at that time. This allows you to eliminate territory and focus your efforts elsewhere. However, "not seeing" deer doesn't mean they aren't there; it simply means they weren't visible from your current vantage point or were incredibly well hidden.
When you do pick up something suspicious – a shimmer, an odd color, a horizontal line – don't dismiss it. Switch to your spotting scope if you haven't already and scrutinize it. Look for definitive proof: an ear flick, a tail twitch, the glint of an eyeball. If you can't confirm it's a deer, but it still looks suspicious, mark its location (using a GPS or an app like GoHunt that allows marking waypoints) and move on. You can always come back to it later, or perhaps a change in light or a different angle will reveal its true nature. The goal is to be patient and discerning, confirming targets before committing to a stalk.
Understanding Mule Deer Behavior and Habitat for Effective Glassing
To effectively glass for Montana mule deer, you need to think like one. Understanding their preferred habitats, daily routines, and seasonal movements will allow you to predict where they'll be and focus your glassing efforts on the most promising areas. Montana offers diverse mule deer habitats, from the rugged mountains to the sprawling eastern plains. For deeper insights into their movements, consult our guide on Montana Mule Deer Migration.
Preferred Terrain and Cover
Mule deer are creatures of broken country. They thrive in areas with a mix of open visibility and accessible cover. In the mountainous regions, this often means south-facing slopes in the morning for warmth, transitioning to north-facing slopes or timbered draws for shade during the midday heat. In Eastern Montana and the Breaks, they'll utilize the numerous coulees, river breaks, and brushy drainages for bedding and travel. Look for areas with a good supply of browse, such as sagebrush, serviceberry, and bitterbrush, as well as access to water.
Often, mature bucks will bed on benches just below a ridgeline, allowing them to survey the country below while remaining hidden from above. They might also utilize rock outcroppings or small clumps of juniper for cover. The key is to find elevated positions that allow you to overlook these types of terrain features. If you're hunting in areas like the Missouri Breaks, you'll want to focus your glassing on the intricate folds and wrinkles of the badlands, where deer can easily disappear from view. Understanding Montana Mule Deer Habitat Explained is crucial for pinpointing these spots.
Seasonal Movement and Rut Behavior
Mule deer behavior changes significantly throughout the year, impacting where and how you should glass. Early season often finds bucks in bachelor groups, higher in elevation or tucked into secluded areas, growing out their antlers. As the season progresses into late September and October, they might start to break up, becoming more solitary.
The rut, which typically peaks in mid-November in Montana, is a game-changer. Bucks become much more visible, often chasing does with less regard for human presence. During this time, they'll frequent areas where does congregate, which could be anything from agricultural fields bordering cover to open sage flats. This is when you'll often see bucks on their feet for longer periods, actively searching for receptive does. However, don't assume they'll be easy to spot; they are still wary and will use cover when pressured. If you're planning to hunt during this exciting period, our article on Montana Mule Deer Rut Explained will provide invaluable details. Knowing the nuances of their seasonal behavior helps you adjust your glassing strategy from passively searching for bedded deer to actively scanning for cruising bucks.
Reading the Wind and Thermals
Just like any other big game, mule deer are highly sensitive to scent, making wind and thermals critical factors in their daily lives. They will almost always try to bed down in a spot where they can smell danger approaching from below or behind them, while visually scanning the terrain in front.
When planning your glassing strategy, consider the prevailing wind direction. If deer are bedded, they'll position themselves to use the wind to their advantage. In the morning, thermals typically rise, pulling scent uphill. In the evening, they fall, carrying scent downhill. This means deer often bed higher up in the mornings and move lower in the evenings. Using a Kestrel or simply paying attention to the movement of leaves or grass can help you understand the air currents. When you find a good glassing spot, think about how the wind and thermals are moving around it. A smart hunter will glass areas where the deer have a disadvantage, either by having the wind at their back or being in a thermal sink, reducing their ability to detect your presence. This knowledge is not just for the stalk; it's for choosing your glassing locations too.
Advanced Glassing Techniques and Common Mistakes
Once you've got the basics down, there are always ways to refine your glassing approach. It's not just about spending more time behind the glass, but spending that time smarter. Avoiding common pitfalls can turn a frustrating outing into a successful hunt.
Utilizing Light and Shadow
The position of the sun can be your best friend or your worst enemy when glassing. Generally, it's best to glass with the sun at your back, illuminating the slopes you're observing. This helps to highlight deer against their background and reduces glare. However, this isn't always possible, especially when hunting specific terrain features.
In the early morning or late evening, when the sun is low, raking light can create long shadows and dramatic contrasts that can reveal deer that would otherwise be hidden. At the same time, these shadows can also hide deer incredibly well. Pay close attention to how light and shadow play on the landscape. A deer bedded in a deep shadow might be impossible to see until the sun shifts, or until you change your angle. Similarly, glassing directly into the sun is usually unproductive due to glare. Try to plan your glassing routes and positions based on the time of day and sun's angle. Sometimes, simply waiting 30 minutes for the sun to move slightly can reveal a buck that was previously hidden in plain sight.
Patience and Persistence
This is perhaps the hardest lesson for many hunters: glassing for mule deer requires immense patience and persistence. It's not uncommon to spend hours, even an entire day, meticulously picking apart a landscape without seeing a single deer. This is normal. The temptation to pack up and move is strong, but often, the most successful glassers are those who stick it out.
Mule deer spend a significant portion of their day bedded, often in very secure, hidden locations. They might only stand up to stretch, shift positions, or feed for a few minutes every few hours. If you're not behind your glass during those brief windows of activity, you'll miss them. Set yourself up comfortably, bring snacks and water, and commit to the process. Don't just scan; study the landscape. Look at the same spots repeatedly, as a deer might have moved, or the changing light could reveal something new. Often, it's the 100th scan of a seemingly empty hillside that finally reveals the tell-tale gleam of an antler. This persistence is a cornerstone of Montana DIY Elk Hunting Guide and applies equally to mule deer.
Avoiding "Hunter's Eye" and Target Fixation
"Hunter's eye" is a common phenomenon where your brain becomes so focused on finding a deer that it starts to see deer everywhere—in rocks, trees, and shadows. It leads to false positives and wasted time. The opposite, target fixation, is when you stare too long at one particular spot because you think you saw something, neglecting the rest of the landscape. Both are counterproductive.
To avoid hunter's eye, take regular breaks from your optics. Look away, refocus your eyes on the distant horizon, or simply close them for a minute. This resets your vision and allows you to come back to the glassing fresh. When you spot something suspicious, use your spotting scope to confirm, but if it's not a deer, move on quickly. Don't dwell on it. For target fixation, remember the systematic grid search. Keep your head on a swivel, metaphorically speaking. Just because you're focused on one draw doesn't mean a buck isn't moving through the next one over. Maintaining a broad awareness while systematically searching a smaller area is a delicate balance, but it's crucial for maximizing your chances.
Putting It All Together: A Day in the Field Glassing
Glassing for Montana mule deer is an integrated process, from pre-hunt planning to the final stalk. It's about combining preparation with execution and adapting to what the field presents.
Pre-Season Scouting and E-Scouting Integration
Long before you even set foot in the field, your glassing strategy begins with thorough pre-season scouting and e-scouting. Tools like GoHunt or onX Hunt are invaluable for this. Start by analyzing topographical maps and satellite imagery to identify potential glassing perches – high points that offer expansive views of mule deer habitat. Look for areas with a mix of open country, draws, and bedding cover. Identify water sources, likely travel corridors, and escape routes.
As you zoom in, look for distinct features that can serve as landmarks for your grid searches later on. Using the 3D terrain features in mapping apps, you can virtually "sit" on a ridgeline and see what areas are visible and which are hidden. Mark these potential glassing spots as waypoints. This homework saves you valuable time in the field, ensuring you're not wasting precious daylight hiking to unproven vantage points. Integrating these tools allows you to have a strong starting plan, optimizing your time when you're finally out there. For more details on this crucial preparation, refer to How to E-Scout Montana Hunting Units and How to Use onX for Montana Hunting.
Setting Up Your Glassing Perch
Once you're in the field and have arrived at a pre-determined or newly found glassing perch, setting up correctly is paramount. Find a comfortable, stable position. If possible, use a natural backrest like a rock or a tree. Spread out a small pad or cushion to sit on; you'll be here for a while.
Set up your tripod, ensuring it's level and secure. Mount your binoculars first, and begin your systematic grid search. Have your spotting scope mounted on a separate tripod, or readily available to switch, for when you need to confirm details. Arrange your gear—rangefinder, water, snacks, map—so everything is easily accessible without having to make large, jarring movements. Critically, ensure your glassing perch is downwind or crosswind of the area you intend to hunt. Even if you're miles away, the wind can carry your scent towards deer you're trying to locate. Silence is key; avoid rattling gear or loud movements that could carry across the quiet expanses of Montana.
The Follow-Up and Stalk
Finding a mule deer through your optics is only the first step. The real challenge, and the true art of mule deer hunting, comes in the follow-up and the stalk. Once you've confirmed a buck and assessed its size, it's time to devise a plan to get within shooting range. This involves careful planning, considering wind direction, terrain, and the deer's behavior.
Never take your eyes off the deer for longer than necessary as you begin your stalk. Use landmarks you identified during your glassing session to guide your approach. Keep the wind in your favor, using draws, ridges, and cover to hide your movement. Mule deer have incredible eyesight, so slow, deliberate movements are critical. Sometimes, if the terrain allows, you might even have to circle miles out of the way to get into a favorable position. This is where patience learned during glassing translates directly to success in the stalk. Knowing when to make a move and when to wait for the deer to move itself is a skill honed over many hunts, but it all starts with that initial, successful glassing session. For those interested in the next steps, our Montana Mule Deer Hunting: Spot-and-Stalk Tactics offers practical advice.
| Optic Type | Magnification Range | Objective Lens (mm) | Best Use for Mule Deer Glassing | Pros | Cons |
|---|---|---|---|---|---|
| Binoculars | 10x-15x | 42-56 | Wide area scanning, systematic grid searching, locating deer | Portable, quick to deploy, excellent for scanning large areas | Limited detail at extreme distances, hard to handhold at higher powers |
| Spotting Scope | 20x-60x | 65-95 | Confirming distant targets, evaluating antler size, detailed observation | High magnification, excellent for resolving fine details, good for long-range observation | Less portable, requires tripod, narrow field of view, slower to set up |
| Tripod | N/A | N/A | Essential for stabilizing binoculars and spotting scopes | Eliminates shake, reduces eye strain, allows for extended glassing sessions | Adds weight to pack, can be cumbersome in thick cover |
Disclaimer
Please remember that hunting regulations, seasons, and licensing requirements in Montana can change. Always consult the official Montana Fish, Wildlife & Parks (FWP) regulations for the current year before planning any hunting trip. This guide provides general information and should not be considered legal advice or a substitute for official FWP documentation.