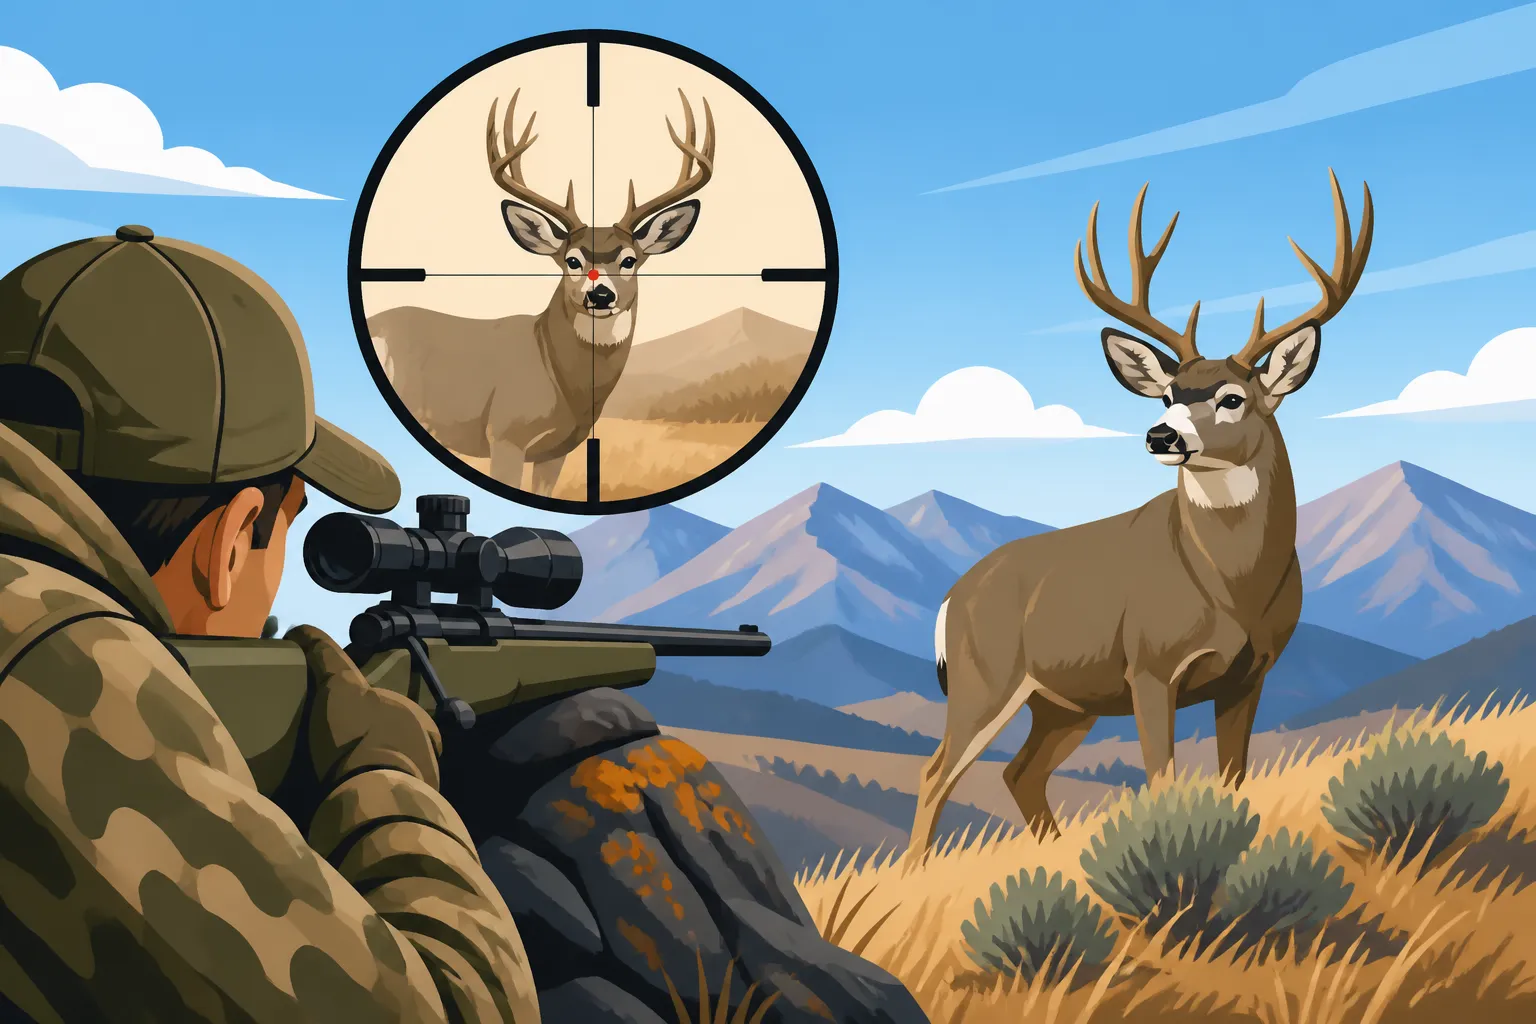
How to Use Optics for Montana Mule Deer
Hunting mule deer in Montana often feels like trying to find a needle in a haystack – a really, really big haystack with endless draws, breaks, and timbered pockets. It's a common frustration to spend hours hiking, feeling like you're missing everything, only to realize later that a buck was bedded just out of sight. That's where quality optics become your absolute best friend, transforming a frustrating search into a strategic and rewarding hunt. This guide will walk you through everything you need to know about effectively using optics to locate and assess Montana mule deer.
The Indispensable Trio of Optics for Mule Deer
When you’re out in Montana’s expansive mule deer country, your eyes alone simply aren't enough. The terrain is just too vast and broken, full of nooks and crannies where a mature buck can disappear in plain sight. This is why a strategic setup of three key optical tools is absolutely critical for anyone serious about finding big mule deer.
Binoculars: Your Primary Scouting Tool
Your binoculars are the workhorse of your optical system, the first line of defense in picking apart distant hillsides and timber edges. They’re what you’ll reach for constantly, so comfort and optical quality are paramount. For mule deer hunting in Montana, most seasoned hunters lean towards 10×42 or 12×50 power binoculars. The "10x" or "12x" refers to the magnification, meaning the object appears 10 or 12 times closer. The "42" or "50" refers to the objective lens diameter in millimeters, which dictates how much light the binoculars gather.
Think about glassing those seemingly endless sagebrush flats or the intricate rock formations of the badlands in eastern Montana. A good pair of 10x binoculars offers a wide field of view, making it easier to scan large areas quickly and pick up subtle movements or variations in texture that might indicate a deer. However, if you're frequently targeting specific coulees or distant timber edges in the mountains, a 12x magnification can really bring those details into focus, helping you discern if that dark patch is a shadow or a bedded buck. The larger objective lens (50mm vs. 42mm) will perform better in low-light conditions, crucial for those first and last hours of the day when deer are most active. Brands like Vortex, Leupold, and Maven offer excellent options across various price points, providing durability and clear glass essential for Montana’s rugged environment. When considering your purchase, remember that clarity at dawn and dusk can make or break a hunt, so investing in good glass here truly pays off.
Spotting Scopes: For Detailed Examination and Distance
While binoculars help you find a potential deer, a spotting scope confirms it, tells you what it is, and often, if it’s worth a closer look. If you’ve ever spotted a tiny speck on a far-off ridge with your binos and wondered, "Is that a deer? Is it a buck? How big?", then you understand the critical role of a spotting scope. These powerful tools typically range from 15-45x magnification up to 20-60x or even 27-80x.
Imagine you're overlooking a vast basin in the Gravelly Range Hunting Guide. You’ve been systematically glassing for hours with your binoculars, and suddenly, you catch a glint of antler in a patch of timber nearly a mile away. Pulling out your spotting scope, mounted firmly on a tripod, allows you to zoom in and assess the buck. You can count points, estimate spread, and judge body size to determine if it’s a shooter. This saves you precious time and energy, preventing unnecessary stalks on smaller animals. For non-residents, especially, every hour saved is valuable. The clarity and light-gathering capability of your spotting scope will be tested in challenging conditions like heat shimmer, hazy skies, or deep shadows, so again, investing in quality optics from brands like Swarovski, Zeiss, or Kowa can make a significant difference in your ability to field judge an animal accurately. This is especially true when trying to How to Field Judge a Montana Mule Deer Buck from afar.
Rangefinders: Pinpointing the Distance
The third leg of your optical stool is the rangefinder. There's nothing more disheartening than making a perfect stalk, getting into position, and then misjudging the shot distance in the vastness of Montana’s landscape. Hills and valleys play tricks on the eye, and what looks like 300 yards might actually be 450, or vice versa. A reliable rangefinder eliminates this guesswork.
Modern rangefinders are incredibly precise, often capable of ranging out to 1,000 yards or more, with many offering angle compensation for uphill and downhill shots, which is absolutely essential in Montana's mountainous terrain. If you're hunting the Missouri Breaks Hunting Guide where deep coulees can hide game and distort distances, a rangefinder is non-negotiable. Before you even draw your bow or shoulder your rifle, you can quickly get an accurate read on your target, allowing you to make precise adjustments to your holdover or turret settings. Some high-end binoculars now integrate rangefinding capabilities, offering a convenient all-in-one solution for those looking to streamline their gear. For bowhunters, a rangefinder is used constantly, but for rifle hunters taking longer shots, knowing the exact distance to a distant mule deer is paramount for ethical and successful hunting.
Mastering Glassing Techniques in Montana's Diverse Terrain
Finding mule deer in Montana isn't just about having good glass; it's about knowing how to use it effectively. Montana’s landscapes, from the rolling prairie breaks to the timbered high country, demand specific glassing strategies and a healthy dose of patience.
The Systematic Grid Search: Leave No Stone Unturned
The biggest mistake a hunter can make when glassing is to simply glance around randomly. Mule deer are masters of camouflage and stillness. They won't jump up and wave at you. To consistently find them, you need a systematic approach – the grid search.
Start by choosing a manageable section of terrain, perhaps a specific hillside, a drainage, or a patch of timber. Begin at one edge of that section and methodically scan in small, overlapping sections, moving horizontally or vertically like you’re reading a book. Don’t rush. Slow down, breathe, and let your eyes truly absorb what your optics are showing you. Pay close attention to changes in color, texture, horizontal lines (like a deer's back), or anything that just looks "out of place." A flicker of an ear, the shine of an antler, or a distinct dark patch against lighter rock could be a bedded buck. When you reach the end of your chosen section, shift your optics slightly and repeat the process. This meticulous method ensures you don’t miss that subtle detail that reveals a deer. This technique is especially effective when you're trying to How to Glass for Montana Mule Deer in the vastness of the landscape. It takes discipline, but it's how seasoned hunters consistently turn up deer where others see nothing.
Utilizing Light, Thermals, and Time of Day
Mule deer behavior is heavily influenced by light, temperature, and atmospheric conditions, and your glassing strategy needs to adapt accordingly.
- Early Morning: As the sun rises, deer are often still active, moving from feeding areas to bedding grounds. Glass slopes that catch the first rays of sun, as deer might be soaking up warmth after a cold night. As the light intensifies, pay attention to the transition zones where timber meets open country, or where shadows still linger.
- Midday: When the sun is high and bright, mule deer are typically bedded in shaded, secure areas. This is when your systematic grid search, combined with a good spotting scope, becomes critical. Focus on north-facing slopes, dense timber, the bottom of deep coulees, or under overhangs and thick brush where deer seek refuge from the sun and wind. The contrast between deep shade and bright sun can make spotting difficult, so slow down even more. Heat shimmer can also be a significant challenge during midday glassing. The shimmering effect of hot air rising can distort images through your optics. Using a lower magnification on your spotting scope or binoculars, and focusing on areas that are in shade or have a consistent thermal layer, can help mitigate this.
- Late Afternoon/Evening: As the sun begins to dip, thermals shift and start to fall down the mountainsides and into drainages. Deer will begin to stir, moving towards feeding areas. Glass the edges of timber, south-facing slopes still holding warmth, and any open pockets where deer might emerge. Always consider the wind and thermals when glassing, as deer will often bed in a spot where they can smell danger from below and see it from above. Understanding Montana Mule Deer Summer vs Winter Range can also inform where you should be focusing your glassing efforts during different parts of the season.
Practical Application and Field Tips for Montana Hunts
Having the right optics is one thing, but knowing how to use them efficiently and protect them in the demanding environment of a Montana hunt is another. These practical tips can make a world of difference in your success and comfort.
Stability is Key: Tripods and Steady Rests
You could have the most expensive, clearest glass on the market, but if you can’t hold it steady, it’s almost useless. Especially when using a spotting scope or higher-magnification binoculars (like 12x or 15x), a stable platform is non-negotiable.
- Tripods: A sturdy, lightweight tripod is essential for a spotting scope and highly recommended for prolonged binocular use. Carbon fiber models offer an excellent balance of durability and minimal weight, which is important when you're packing into the backcountry. Look for a tripod that allows for smooth adjustments and secure locking mechanisms. Don't skimp on a good tripod head; a fluid head will make panning and tilting much smoother, preventing jerky movements that can make you lose sight of your target. When doing serious, all-day glassing, using your binoculars on a tripod will significantly reduce eye strain and allow you to pick up far more detail than handheld scanning. This is crucial for hunters who embark on a Montana Backcountry Hunting Guide.
- Natural Rests: When a tripod isn’t feasible or you need a quick glance, always find a natural rest. Lean against a tree, brace your elbows on your knees, or use your backpack as a stable base. Even small movements can make a huge difference in image clarity at high magnifications.
Eye Relief, Comfort, and Protecting Your Investment
Hours spent behind glass can take a toll on your eyes and neck if you're not comfortable. Proper technique and gear protection are vital.
- Eye Relief: This refers to the distance your eye needs to be from the eyepiece to see the full field of view. If you wear glasses, ensure your optics have sufficient eye relief (often indicated by adjustable eyecups) so you can glass comfortably without removing your eyewear.
- Comfort and Positioning: When settling in for a long glassing session, get as comfortable as possible. Sit or lie down if the terrain allows, and adjust your tripod so you’re not craning your neck. A small, lightweight stool or cushion can be a game-changer. Fatigue leads to missed details.
- Protection from the Elements: Montana weather can be unpredictable, switching from sunny and calm to windy and wet in a matter of hours. Protect your optics. Use rain guards for your binoculars and eyepiece covers for your spotting scope. Carry a micro-fiber cloth for cleaning lenses, but always blow off loose dust and grit before wiping to avoid scratching the delicate coatings. A good binocular harness will keep your glass secure, accessible, and protected against bumps and scrapes while you’re hiking. Consider brands like Stone Glacier or Kifaru for reliable harnesses.
Utilizing Digital Tools in Conjunction with Optics
Modern hunting isn't just about glass anymore; it's about integrating digital tools to enhance your optical strategy. Platforms like GoHunt, for example, offer detailed mapping and land ownership data that can help you identify high-probability mule deer habitat even before you step foot in the field. By combining How to E-Scout Montana Hunting Units with real-world glassing, you can maximize your effectiveness.
You can use mapping apps like onX Hunt (mentioned in How to Use onX for Montana Hunting) on your phone to identify potential bedding areas, water sources, and escape routes from your glassing vantage point. If you spot a deer, you can mark its location, estimate its travel path, and then use your rangefinder to get precise coordinates. This digital integration helps you plan your approach and understand the terrain in a whole new dimension, making your optical observations even more actionable.
Choosing the Right Optics for Your Montana Mule Deer Adventure
The vast array of optics on the market can be overwhelming, but by understanding your needs, budget, and hunting style, you can make an informed decision that will serve you well in Montana’s challenging mule deer country.
Budgeting for Quality
Optics represent a significant investment, and for good reason: they are often the most crucial piece of gear for a Western hunter. While it's tempting to save money, remember that clarity, durability, and low-light performance are directly tied to price.
Think of it this way: your optics are an extension of your eyes. Would you compromise on corrective lenses if you needed them? Probably not. The same applies to hunting optics. You don't necessarily need the absolute top-tier, but avoiding the cheapest options is wise. Mid-range options from reputable brands like Maven, Vortex, Leupold, and Athlon often provide excellent performance for the money, balancing optical quality with rugged construction. A good rule of thumb is to allocate a substantial portion of your gear budget to your optics. You might be able to get by with a less expensive tent or backpack, but poor glass will lead to missed opportunities and frustration. Sometimes, hunters opt for high-quality binoculars first and add a spotting scope later, or vice versa, depending on their primary hunting method and budget.
Weight Versus Performance: The Backcountry Compromise
If you’re planning a deep Montana Backcountry Hunting Guide, every ounce counts. This creates a challenging trade-off between optical performance and the weight of your setup. Larger objective lenses gather more light and generally offer better clarity, but they also mean heavier binoculars and spotting scopes.
- For Backpack Hunters: Lightweight optics are often prioritized. A compact 10×42 binocular paired with a lightweight, compact spotting scope (e.g., a 65mm objective) on a carbon fiber tripod might be the optimal choice. You sacrifice a little bit of low-light performance and reach compared to larger setups, but the weight savings can be crucial for covering miles of rugged terrain. When considering How to Pack for a Montana Backcountry Hunt, remember that your optics package can be one of the heaviest items.
- For Day Hunters/Truck-Based Hunters: If you’re not covering extreme distances on foot or can pack in with horses, you might opt for heavier, larger optics. A 12×50 or 15×56 binocular with an 85mm spotting scope can provide incredible detail and low-light performance without the same weight penalty concerns. It really boils down to your hunting style.
Specific Features for Mule Deer Hunting
Beyond basic magnification and objective lens size, consider these features that are particularly useful for hunting Montana mule deer.
- Field of View: A wider field of view (FOV) is generally better for quickly scanning large landscapes for mule deer. It allows you to see more terrain at once, which is helpful when mule deer can blend in so seamlessly.
- Close Focus: While most mule deer are spotted at a distance, a good close focus can be useful if you're stalking in thick timber and need to confirm antlers through a small window in the brush.
- Image Stabilization: Some high-end binoculars feature image stabilization, which can be a game-changer for handheld glassing, especially at higher magnifications. It helps counteract natural hand shake, making the image much steadier.
- Durability and Weatherproofing: Montana is tough on gear. Ensure your optics are fully waterproof and fog-proof (purged with nitrogen or argon gas). Rubber armor on binoculars and spotting scopes provides extra protection against bumps and drops. Look for models designed to withstand harsh weather conditions, from driving rain to freezing temperatures. This will ensure your Best Optics for Montana Big Game will perform when you need them most.
By carefully considering these factors, you can assemble an optical system that enhances your ability to locate, evaluate, and ultimately pursue Montana mule deer, turning those frustrating "needle in a haystack" moments into successful encounters.
Disclaimer
Please note that hunting regulations, season dates, and license requirements can change. Always consult the official Montana Fish, Wildlife & Parks (FWP) regulations before planning any hunting trip. This guide provides general information and recommendations, but it is your responsibility to ensure compliance with all current laws and regulations.