How to Pack Out Elk Meat Solo in Montana
That moment when a big Montana bull finally hits the dirt, after days or even weeks of grueling effort, is pure magic. You’ve put in the work, made a great shot, and now the real challenge begins: getting that incredible animal out of the backcountry, especially when you’re out there all by yourself. The sheer weight, the rugged terrain, and the ticking clock of spoilage can feel incredibly daunting, but with the right preparation and strategy, packing out an elk solo in Montana is absolutely achievable. This guide will walk you through every crucial step, from pre-hunt conditioning to efficient field butchering and strategic load hauling, ensuring you bring home that hard-earned meat safely and successfully.
The Mental and Physical Preparation for a Solo Pack-Out
Successfully packing out an elk solo in Montana isn't just about sharp knives and a strong back; it's a marathon that starts long before you ever pull the trigger. It requires a significant investment in both your physical and mental well-being. Thinking ahead and preparing for the worst-case scenario – that you'll be doing this alone – is the smartest thing you can do.
Pre-Season Fitness and Conditioning
Let's be real: hunting in Montana is physically demanding. You’re often at high elevations, navigating steep, uneven terrain, and covering miles. But "hunting fit" is often different from "pack-out fit." Hunting might involve periods of intense exertion followed by long glassing sessions, but a pack-out means sustained, heavy effort, sometimes for multiple days. You need to build a robust foundation to handle carrying 80-100 pounds (or more) over treacherous ground.
Think about incorporating exercises that mimic the specific movements and demands of hauling meat. Hiking with a weighted pack is non-negotiable. Start with a moderate weight and gradually increase it, aiming for the weight you might carry on your heaviest pack-out trip. Tackle steep inclines, uneven trails, and even some off-trail bushwhacking if possible. Stair climbing or using a step machine with a pack is excellent for building leg and lung endurance. Don't neglect core strength either; a strong core stabilizes your body and prevents injury when carrying unbalanced loads. Functional movements like squats, lunges, and deadlifts are far more beneficial than isolation exercises. Remember that article on Montana Elk Hunt Fitness Plan? It’s not just for the hunt; it’s for the haul. When you're in a place like the Absaroka-Beartooth Wilderness, with its unforgiving grades and rocky trails, your fitness will be your greatest asset.
Mental Fortitude and Problem Solving
The physical challenge is often overshadowed by the mental battle during a solo pack-out. Fatigue, solitude, and the sheer scale of the task can lead to discouragement, poor decisions, or even panic. This is where mental fortitude comes into play. You need to be able to break down an overwhelming task into smaller, manageable steps. Instead of thinking about "packing out an entire elk," focus on "quartering this side," then "getting this first load to the truck," and so on.
Practice visualization: imagine yourself successful, even when things get tough. What happens if you get turned around in the dark, or a sudden squall rolls in, dropping temperatures or making the ground slick? Having a calm, problem-solving mindset is critical. Mentally walk through hypothetical scenarios before you're facing them in real life. This proactive thinking helps build resilience. You'll be alone with your thoughts for hours, maybe days, so cultivating a positive, determined internal dialogue is vital. Remember, every step forward, no matter how small, is progress.
Essential Gear for a Solo Elk Recovery
Having the right tools for a solo elk pack-out isn't just about convenience; it's about efficiency, safety, and ultimately, success. You're your own best friend out there, and your gear is an extension of that friendship. Skimping on quality or forgetting a crucial item can turn a tough situation into a disaster.
The Right Pack System and Bone-Out Kit
Your pack is arguably the most critical piece of gear for a solo elk hunter. It needs to be robust, comfortable, and capable of carrying substantial weight. For hauling meat, many seasoned Montana hunters prefer internal or external frame packs specifically designed for heavy loads. These packs excel at transferring weight efficiently to your hips, protecting your shoulders and back. Look for features like strong compression straps, durable fabric, and a suspension system that can handle 80+ pounds. Brands like Mystery Ranch, Kifaru, and Exo Mtn Gear are popular choices because they specialize in serious hunting packs that stand up to the rigors of the backcountry. Choosing the best backpack for a Montana elk hunt really boils down to balancing comfort and raw carrying capacity.
Your bone-out kit needs to be meticulously assembled. Forget the heavy axes and saws; efficiency is key.
- Knives: A good fixed-blade knife for initial breaking down is essential. Supplement this with a replaceable blade knife, like a Havalon or Gerber Vital, which stays razor-sharp and makes delicate work like caping or separating muscle groups effortless. Carry plenty of spare blades.
- Game Bags: This is where many hunters make a mistake. Don't use pillowcases! Invest in quality, breathable game bags specifically designed for wild game. Brands like Alaska Game Bags or Argali offer strong, lightweight bags that protect meat from flies, dirt, and debris while allowing it to cool. You'll want at least five for an elk: four for the quarters and one or two larger ones for backstraps, tenderloins, neck meat, and scraps. These are non-negotiable for preserving your meat, especially in warmer early archery season conditions often found in the Custer Gallatin National Forest.
- Paracord: At least 50 feet. Useful for hanging meat, securing loads, or improvised repairs.
- Headlamp: With fresh batteries and spares. You will be working in the dark, guaranteed.
- Small Tarp or Ground Cloth: To lay meat on, keeping it clean while you work.
Navigation, Communication, and Emergency Supplies
Being alone in the vastness of Montana's wilderness means self-reliance is paramount. You simply cannot rely on cell service.
- Navigation: A reliable GPS device (like a Garmin GPSMAP or a smartphone running apps like onX Hunt, which GoHunt also integrates with for planning) is your primary tool. But technology can fail. Always carry a physical map of your hunting district and a compass, and know how to use them. Before you even head out, spend time with tools like GoHunt's mapping features to identify potential extraction routes, water sources, and safe spots to cache meat. This proactive approach to navigation is part of a solid How to E-Scout Montana Hunting Units strategy.
- Communication: A satellite communicator (Garmin inReach, Zoleo) is a lifesaver. This allows you to send and receive text messages, share your location, and, most importantly, send an SOS in a true emergency. It's not just for you; it's for peace of mind for those back home.
- First-Aid Kit: Tailor it for backcountry hunting: blister care, pain relievers, gauze, athletic tape for sprains, trauma dressing, and any personal medications.
- Fire Starter: Waterproof matches, a lighter, and a ferro rod. Even in summer, nights can get cold.
- Water Filter/Tablets: You'll be sweating, and staying hydrated is critical. A BeFree or Sawyer filter can quickly turn stream water into potable hydration.
- Extra Layers: Weather in Montana can change in an instant. Even on a warm day, a sudden drop in temperature or rain can lead to hypothermia if you're not prepared. Pack a lightweight puffy jacket and rain gear.
- Bear Spray: Absolutely essential, especially when dealing with fresh meat in grizzly country. Keep it easily accessible.
This comprehensive gear list will give you the confidence and capability to tackle the immense job of a solo elk pack-out.
The Step-by-Step Solo Elk Butchering and Meat Care
Now for the moment of truth: you have an elk on the ground. The clock is ticking, and every decision you make from here on out will impact the quality of the meat you take home. When you’re alone, efficiency and cleanliness are your mantras.
Field Dressing and Initial Quartering Techniques
The traditional gutting method, while effective, can be incredibly difficult to perform solo on a large animal like an elk, especially on uneven terrain. This is where the gutless method shines for a solo hunter. It minimizes mess, reduces effort, and allows you to work systematically.
Here’s a simplified breakdown of the gutless method for a solo elk:
- Position the Animal: Roll the elk onto its back if possible, or onto one side, exposing the top side.
- Legs: Cut around the hocks and sever the lower legs.
- Initial Incision: Make a long incision down the back of one front leg, connecting to the shoulder. Do the same for the hind leg, connecting to the hip.
- Remove Top Quarters: Carefully skin down one side, exposing the front and hindquarters. Use your knife to separate the muscle and bone, freeing the entire quarter. The front quarters are generally easier; the hindquarters will require separating the ball joint from the hip socket, which can be done by manipulating the leg and cutting the ligaments. Get these quarters into game bags immediately.
- Backstraps and Tenderloins: Once the quarters are off, you can access the backstraps. Run your knife along the spine, freeing the backstraps in long, clean strips. Next, roll the animal over to expose the other side, and repeat the process for the backstraps. For tenderloins, you'll need to reach inside the cavity, along the inside of the spine. While the gutless method aims to leave the guts intact, you might need to make a small incision in the flank to access these delicious morsels.
- Neck Meat and Rib Meat: Don’t forget these valuable cuts! Carefully debone the neck meat and strip off any good meat from the ribs.
The beauty of the gutless method is that you can process one side, roll the animal over, and then process the other. This makes it much easier to manage alone. Remember that Montana Archery Elk Hunting Guide that stressed stealth and precision? Those same principles of careful movement and attention to detail apply here to your butchering.
Managing Meat Temperature and Protection
Once the meat is off the bone and in game bags, the priority shifts to cooling it down as quickly as possible and protecting it from contaminants and predators. Heat is the enemy of wild game meat.
- Get it off the Ground: Immediately hang all game bags from trees or elevate them on logs or rocks to allow maximum airflow. The ground can act as an insulator, holding heat.
- Find Shade: Even on a cool day, direct sunlight will quickly warm meat. Always hang meat in the deepest shade you can find. If you’re in a sparse area, use your tarp to create temporary shade.
- Airflow is Key: Ensure game bags are not pressed tightly against each other. Give them room to breathe. The breathable fabric of quality game bags is designed for this.
- Warm Weather Strategies: If you're hunting during an early archery season in Montana, where temperatures can still be quite warm, this step is critical. Consider seeking out snow patches at higher elevations to temporarily cool meat. Some hunters even carry emergency space blankets to reflect sunlight. The goal is to get that internal meat temperature down to 38-40°F (3-4°C) as fast as possible. You can find more specific advice on How to Keep Elk Meat Cool in Montana's Early Season.
- Insect Protection: Quality game bags are also your first line of defense against flies and other insects. Once flies lay eggs, your meat is compromised. If possible, consider rubbing black pepper on exposed cuts inside the bags as an extra deterrent.
By meticulously following these steps, you’ll not only make the physically demanding task of butchering easier alone but also ensure the hard-won meat is in prime condition for your dinner table.
The Strategy of Packing Out Alone
Having the meat ready is one thing; getting it back to civilization is another entirely. This is where the "solo" aspect becomes a true test of grit and smart planning. It's not a race; it's a series of calculated efforts.
Load Management and Trip Planning
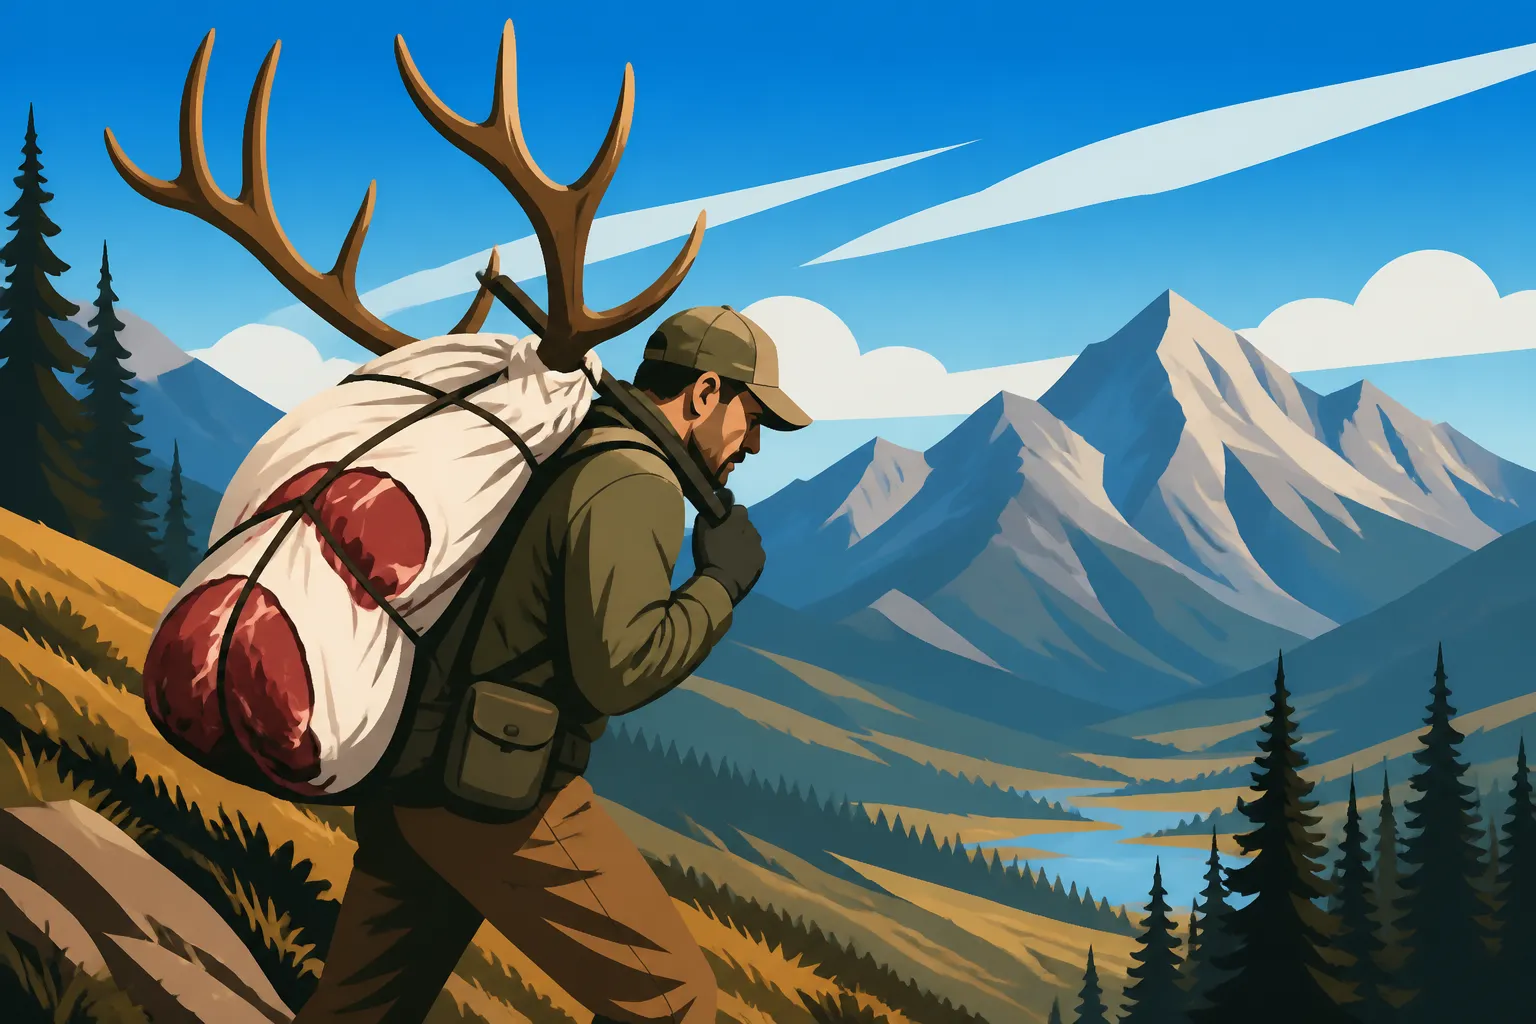
An average bull elk can yield anywhere from 200 to 300 pounds of boned-out meat, plus the hide and antlers. Trying to take it all in one, or even two, trips is often unrealistic and unsafe for a solo hunter, especially in rugged Montana terrain. This is where the "four trips" rule of thumb often comes into play.
- Trip 1: The First Quarters: Typically, you'll want to take out the heaviest quarters first – usually the hindquarters, as they often contain more meat. Pack one hindquarter, along with essentials like your rifle, bow, and a minimal camp setup if you're staying overnight. Make sure your pack is properly adjusted and the weight is distributed well.
- Trip 2: The Second Quarters: Return for the other hindquarter and possibly a front quarter or the backstraps.
- Trip 3: Remaining Meat: By now, you're likely left with the remaining quarters, backstraps, tenderloins, and any miscellaneous meat you debone from the neck or ribs.
- Trip 4: The Trophy Load: Finally, if you're taking the antlers, this will be your last trip, often with the skull cap or full skull, hide, and any remaining gear. If the skull is exceptionally heavy, some hunters might even make a separate trip just for that.
Each trip requires careful planning. Mark your meat caches with GPS waypoints and clearly identifiable markers on the ground. When leaving meat overnight, hang it high, away from the trunk of a tree, and as far from your sleeping area as possible if you're camping. In grizzly country, this means taking extra precautions, such as using bear-resistant containers or electric fences if you have them, and always storing food and meat away from camp. Your Montana Backcountry Hunting Guide offers more in-depth strategies for wilderness safety.
Here's a potential breakdown of loads for a solo elk pack-out:
| Trip Number | Typical Contents | Estimated Weight (lbs) | Notes |
|---|---|---|---|
| Trip 1 | Heavy Hindquarter (boned-out), Rifle/Bow, Day Pack Essentials, Water | 70-90 | Crucial for initial morale boost; ensures heaviest piece is moved first. |
| Trip 2 | Other Hindquarter (boned-out), Front Quarter (boned-out), Some Gear | 60-80 | Begin evening out the load. |
| Trip 3 | Remaining Front Quarter (boned-out), Backstraps, Tenderloins, Neck Meat, Ribs | 50-70 | Focus on prime cuts. |
| Trip 4 | Antlers/Skull Cap, Hide, Camp Gear, Remaining Personal Items | 40-60 | The "trophy" and gear trip. Lightest in terms of meat, but still substantial. |
(Note: These weights are estimates and vary greatly based on elk size and specific cuts taken.)
Remember to stay in communication. If you have a satellite messenger, let someone know your plans, especially if you're making multiple trips over several days. This kind of diligent planning is an essential part of a successful Montana DIY Elk Hunting Guide.
Navigating the Terrain with Heavy Loads
Moving with a heavy pack is fundamentally different from moving with a light one. Your center of gravity shifts, your balance is compromised, and every step requires more effort. The rugged, often steep and rocky, terrain of Montana's mountain ranges like the Big Sky area or the dense timber of the Lolo National Forest will test you to your limits.
- Slow and Steady: This is not the time for speed records. Focus on controlled, deliberate movements. Take shorter strides. Look for solid foot placements.
- Trekking Poles: These are indispensable. They provide two additional points of contact, significantly improving your balance and reducing strain on your knees, especially on descents. They’ll also help you test unstable ground before you commit your full weight.
- Frequent Breaks: Don't push yourself to exhaustion. Take short breaks often – every 20-30 minutes for a few minutes to catch your breath, hydrate, and adjust your pack. Long, grueling pushes only increase the risk of injury and mental fatigue.
- Hydration and Nutrition: Pack plenty of water and calorie-dense snacks. You’re burning an enormous amount of energy, and staying fueled will keep your muscles working and your mind sharp.
- Use the Wind and Thermals: When navigating back to your cache or camp, pay attention to wind direction, especially in areas with potential predators. This is also a good skill to use when hunting, as described in How to Use the Wind Hunting Montana Elk and How to Use Thermals in Montana Elk Country.
- Night Travel: While not ideal, sometimes you might have to pack out in the dark. This is why a powerful headlamp and knowledge of your route are critical. Stick to known trails or clearly marked routes you established with your GPS.
Successfully packing out an elk solo is one of the most physically and mentally demanding challenges a hunter can face, but it's also incredibly rewarding. It solidifies your connection to the land and the animal, and proves your capability as a true wilderness hunter.
Disclaimer
Please remember that hunting regulations, seasons, and access rules in Montana can change. Always consult the official Montana Fish, Wildlife & Parks (FWP) regulations for the current year before planning any hunting trip. This guide offers general advice and is not a substitute for official resources or personal due diligence. Safety should always be your top priority in the field.