How to Keep Elk Meat Cool in Montana’s Early Season
The rush of emotions after successfully taking down an elk in Montana is unparalleled. But that incredible high can quickly hit a wall if you realize the temperature is climbing, and you're miles from camp with hundreds of pounds of valuable meat. The early hunting seasons in Montana, particularly for archery and some general rifle hunts, can often present surprisingly warm weather, turning what should be a celebratory harvest into a stressful race against spoilage. Trust me, nothing is more frustrating than putting in all that hard work only to jeopardize your precious elk meat. This guide is dedicated to providing you with the practical, real-world strategies you need to keep your elk meat cool, fresh, and free from spoilage, ensuring your early season Montana hunt is a success from field to freezer.
The Urgent Need for Cooling in Montana's Early Season
When that bull or cow hits the ground, the clock starts ticking. Unlike late-season hunts where freezing temperatures might aid in natural cooling, early season in Montana demands immediate and decisive action. Ignoring the impact of ambient temperature on your harvest is the quickest way to end up with spoiled meat.
The Danger of Bone Sour and Spoilage
The primary enemy of fresh meat, especially large game like elk, is heat and the rapid bacterial growth it promotes. Within the muscle tissue, warmth facilitates the multiplication of anaerobic bacteria. When these bacteria thrive, they produce waste products that can lead to a condition known as "bone sour." This isn't just a minor off-flavor; bone sour manifests as a putrid odor and often a greenish discoloration, particularly deep within the meat, near the bone. Once bone sour sets in, that section of meat is completely ruined.
Elk are massive animals, and their body heat, trapped by their hide and dense muscle structure, can remain surprisingly high long after they've expired. The internal temperature of a live elk is around 101-103°F. Even after death, without proper cooling, this temperature can hover in the danger zone for hours, accelerating bacterial growth. The goal is to get that internal meat temperature down to below 40°F as quickly as humanly possible to halt spoilage and ensure the meat is safe and delicious. This is especially critical for those deep muscle groups, like the hindquarters, which are slow to cool.
Understanding Montana's Early Season Conditions
While many dream of crisp, cool autumn days for their Montana elk hunt, the reality of early season, which often includes portions of September and even into October, can be quite different. Days can routinely reach into the 60s, 70s, or even 80s, especially in lower elevations or during unseasonably warm spells. Even if mornings start chilly, the sun gains strength quickly, and by midday, exposed meat can heat up rapidly.
Consider a typical early September archery hunt in the Sapphire Mountains or the Elkhorn Mountains. You might wake up to 40-degree temperatures, perfect for hiking, but by noon, the sun is high, and it's 70 degrees. If you've just put down an elk at 9 AM, that gives you precious little time before heat becomes a major problem. Understanding the microclimates of your hunting district is crucial. Are you in a high-elevation basin where it stays cooler, or a south-facing slope that gets baked by the sun? Using detailed weather forecasts and tools, you might even consider resources from companies like GoHunt to understand historical temperature trends for specific areas, helping you plan better. Even slight variations can make a huge difference in how quickly your meat cools.
Immediate Field Care Steps to Beat the Heat
This is where the rubber meets the road. What you do in the first few hours after an elk is down is more critical than anything else in preserving your meat quality. Procrastination here is a recipe for disaster.
Quartering and Skinning Promptly for Rapid Cooling
The absolute first and most critical step is to get the hide off the animal and break it down into manageable quarters. That dense hide acts like an insulating blanket, trapping heat inside the carcass. The sooner it's off, the faster the meat can begin to cool. Your goal should be to get the hide off and the animal quartered within an hour of recovery, if not sooner.
There are a few methods for this. Many backcountry hunters prefer the gutless method, which involves skinning and quartering the animal without eviscerating it. This can be faster and cleaner, especially if you're alone or in steep terrain. For a detailed guide, check out How to Quarter an Elk in the Montana Backcountry. Once the hide is removed, you'll separate the four quarters, backstraps, tenderloins (accessible from inside the body cavity), neck meat, and any other desirable cuts. Each piece of meat, now exposed to the air, will start to cool much more efficiently. Don't forget to trim away any excess fat, as fat retains heat and can also go rancid faster than muscle meat.
Elevating and Airing Out the Meat
Once the meat is off the bone and in individual quarters or primals, the next step is to get it off the ground and into the best possible airflow. The ground, especially warm ground, will absorb heat from the meat or transfer its own heat into it. Look for downed logs, sturdy branches, or even use your trekking poles and rope to create a makeshift hanging station. The higher you can get the meat off the ground, the better the air circulation around it will be.
Hang the quarters individually, ensuring they are not touching each other. This maximizes the surface area exposed to the cooler ambient air. In shaded areas, even a light breeze can help dissipate heat. If you're in timber, finding a spot where thermals are pulling cool air uphill as the sun sets can be a natural refrigerator. This elevation and separation are paramount for rapid initial cooling before you begin the process of packing out.
Protecting from Insects, Dirt, and Other Contaminants
As soon as the hide is off, your meat becomes a beacon for flies, wasps, and other insects. Not only are these pests annoying, but they can lay eggs or introduce bacteria, further contaminating your meat. This is where high-quality game bags become indispensable.
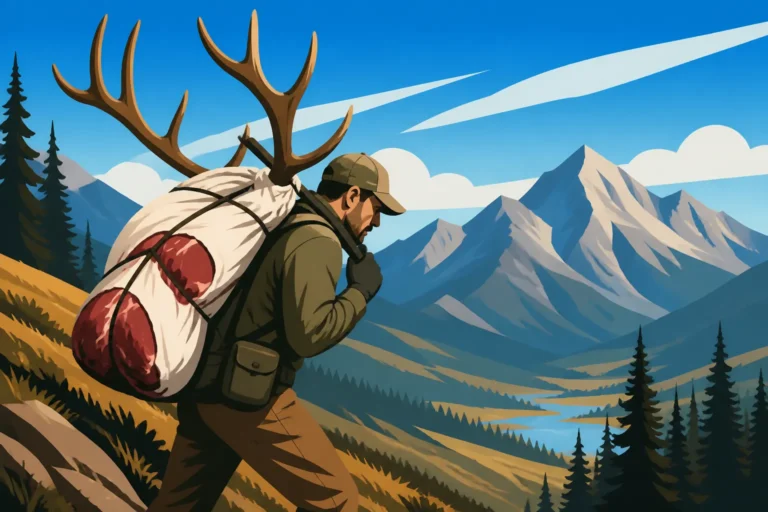
Invest in sturdy, breathable game bags made of synthetic materials that allow air to circulate while keeping bugs out. Good options are available from brands like Argali, KUIU, or Outdoor Edge. Avoid cheesecloth, which tears easily, or plastic garbage bags, which trap heat and moisture, leading to spoilage. Once each quarter is separated, immediately place it into its own game bag. Tie the bags securely around the meat, ensuring there are no openings for insects to enter. While the meat is hanging, periodically check for any flies or other pests that might have found their way in, and brush them off. Keeping the meat clean is just as important as keeping it cool. If you're in a pinch without game bags, sometimes a light, breathable shirt or piece of cloth can offer temporary protection, but it's not a long-term solution.
Strategic Cooling and Transport Out of the Backcountry
Getting the meat cool in the field is just the beginning. The real challenge often lies in maintaining that coolness during the arduous journey from where the elk fell to your vehicle and, eventually, to proper cold storage.
Choosing and Using the Right Game Bags
When it comes to game bags, quality absolutely matters, especially in early season warmth. As mentioned, synthetic, breathable bags are the gold standard. They are lightweight, durable, and, most importantly, allow the meat to "breathe," promoting evaporative cooling while preventing insect and dirt contamination. Cotton bags can work, but they are heavier, absorb moisture, and are harder to clean.
Here’s a comparison of common game bag types:
| Game Bag Type | Pros | Cons | Ideal Use Case |
|---|---|---|---|
| Synthetic Mesh | Lightweight, breathable, durable, reusable | Higher upfront cost | All backcountry hunts, especially early season and extended trips |
| Cotton Canvas | Breathable, traditional, relatively durable | Heavier when wet, can stain, holds odors more, slower to dry | Shorter hauls, when weight isn't as critical, or for dry camping |
| Cheesecloth | Very inexpensive, very lightweight | Tears easily, poor protection from small insects, not reusable | Emergency, very short-term protection, not recommended for elk |
| Plastic Bags | Waterproof, keeps dirt out | Traps heat and moisture (AVOID AT ALL COSTS for fresh meat!) | Transporting frozen meat, non-meat items, or gear, NEVER fresh, warm game meat. |
Always carry enough game bags for all your elk meat, including backstraps, tenderloins, and trim. If you're undertaking a serious backcountry hunt, consider a comprehensive Montana Backcountry Hunting Gear List to ensure you're prepared for every contingency.
Utilizing Ice and Coolers Effectively
Once the meat reaches your vehicle or base camp, ice becomes your best friend. But there's a right way and a wrong way to use it.
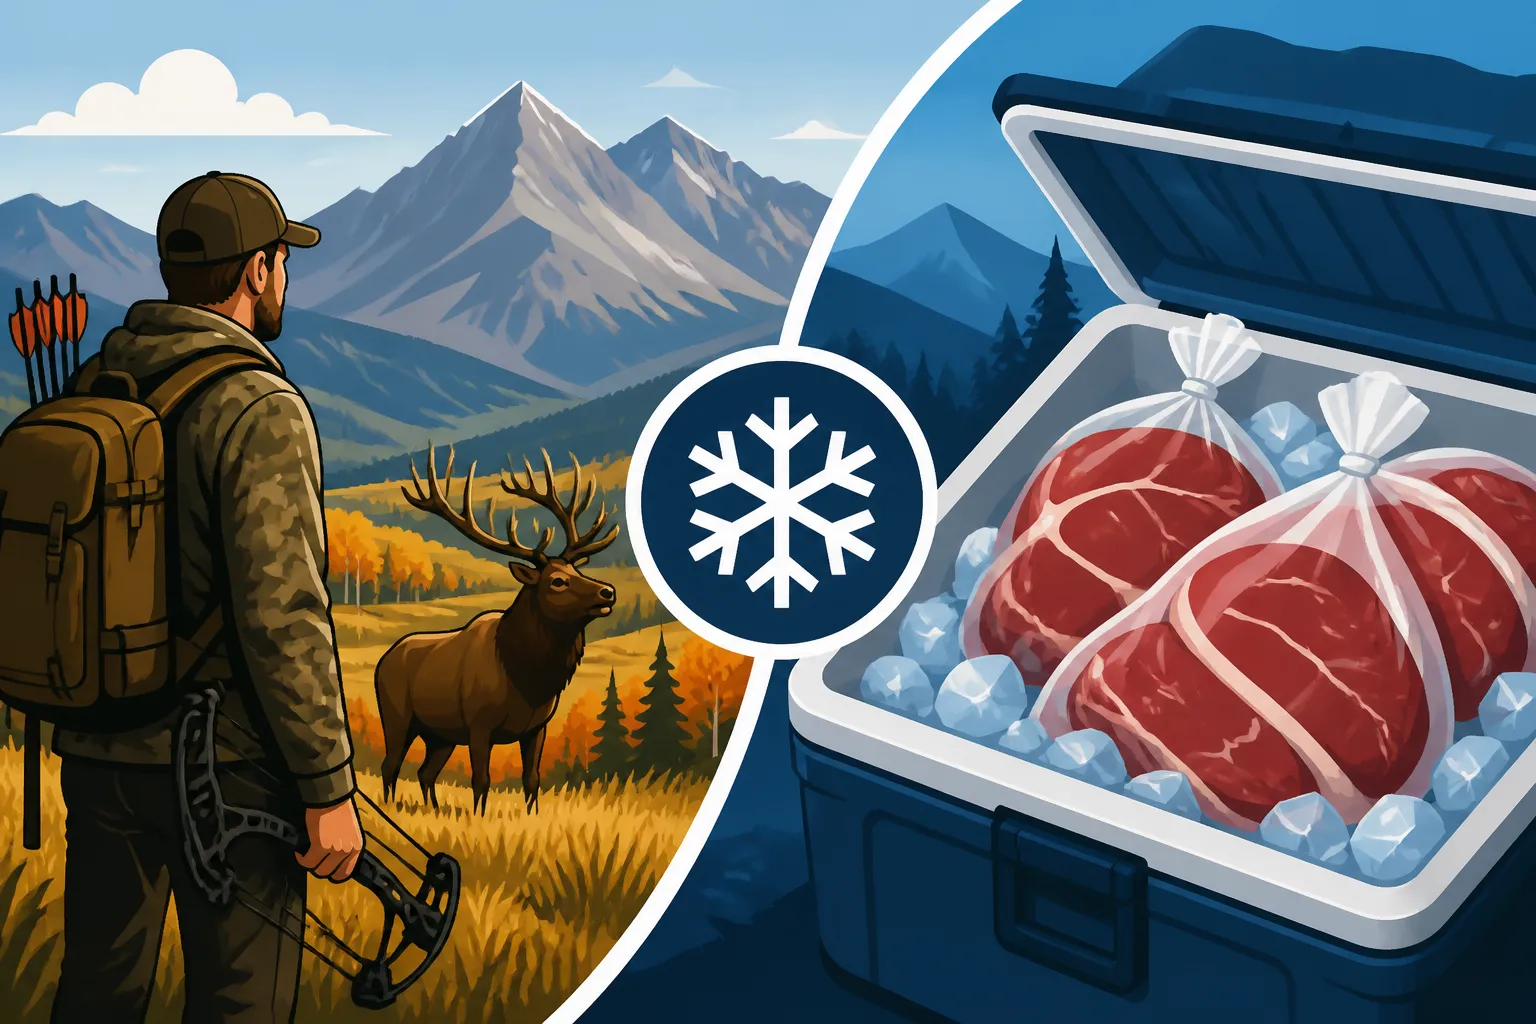
- Pre-chill your coolers: Before you even leave home, fill your coolers with sacrificial ice for at least 24 hours. This chills the cooler's insulation and plastic, making it far more efficient when you put your precious meat in. Dump this ice just before loading.
- Use block ice: Block ice melts much slower than cubed ice because it has less surface area. Consider making your own block ice at home using plastic milk jugs or two-liter bottles. This ice can also be repurposed as drinking water once it melts.
- Layering is key: Place a layer of ice on the bottom of the cooler. Then, add a layer of meat (still in game bags!), followed by another layer of ice. Avoid direct contact between meat and melting ice water for extended periods, as this can leach flavor and potentially lead to waterlogging. You can use clean, dry towels or even a thin plastic sheet as a barrier, but make sure air can still circulate if possible.
- Drain strategically: While it's important to keep the meat out of standing water, don't drain all the meltwater immediately. The cold water itself contributes to cooling. Only drain if the meat is submerged for a prolonged period.
- Cooler brands: For extended cooling in warmer temps, investing in a high-quality cooler like a YETI, RTIC, or Canyon Cooler is paramount. These coolers offer superior insulation and will keep your meat cold for days.
Planning Your Transport from Field to Cooler
The journey from the elk to your vehicle is often the most physically demanding part of the hunt, and it's also a critical time for meat care. If you shot an elk several miles deep in the backcountry, you might be packing meat for hours. Understanding How to Pack Out an Elk in Montana is vital, but equally important is when you pack it out.
If you down an elk in the middle of a warm day, and you're far from the trailhead, it might be strategic to quarter and bag the meat, hang it in the deepest shade you can find, and wait for the cooler evening temperatures to start your pack. This allows for initial passive cooling and reduces the risk of the meat re-warming during a strenuous hike. When you do pack, ensure your backpack is set up to allow some airflow around the meat bags. Many hunters use external frame packs like a Mystery Ranch or Kifaru, which keep the meat off your back, reducing heat transfer from your body. Make sure your Best Backpack for a Montana Elk Hunt can handle the load and the necessary ventilation.
Once back at the truck, immediately transfer the meat into your pre-chilled, iced coolers. Drive straight to a processor or home to continue cooling and processing. Do not leave the coolers in direct sunlight during transport; throw a tarp or blanket over them to deflect solar radiation.
Avoiding Common Mistakes that Lead to Spoiled Meat
Even experienced hunters can make mistakes when it comes to meat care, especially under the pressure of a successful hunt and challenging conditions. Being aware of these common pitfalls can save you a lot of grief.
The Peril of Delayed Field Dressing
This is, without a doubt, the most common and devastating mistake. The excitement of the kill, the difficulty of the terrain, or simply fatigue can lead to hunters delaying the critical first steps of skinning and quartering. Every minute that hide stays on and that meat remains warm is a minute closer to spoilage.
Imagine a scenario: You shoot a bull just before dark on a warm September evening in the Missouri Breaks. Instead of pushing hard to get the hide off and meat quartered, you decide to celebrate, take photos, and wait until morning, thinking the night will cool it. If those overnight temperatures don't drop significantly (and often in the Breaks, they don't), you could return to a spoiled animal. The bacteria have had hours to proliferate. Always prioritize immediate field dressing. Your celebratory photos can wait until the meat is properly cared for. How to Hunt Montana Elk in Early Archery Season often means dealing with these warmer temperatures, so prompt action is paramount.
Improper Bagging and Storage
While game bags are essential, using them incorrectly can still lead to problems. Stacking meat quarters tightly together, whether in game bags or coolers, inhibits airflow and prevents efficient cooling. If meat is piled up, the pieces in the middle will retain heat far longer than those on the outside. Always try to separate meat as much as possible.
Another mistake is using non-breathable bags, such as plastic garbage bags, for storage in the field. As discussed, these trap heat and moisture, creating a perfect incubator for bacteria. They are only suitable for hauling trash, not fresh meat. When storing in coolers, resist the urge to pack them so full that air cannot circulate. While ice is critical, space for cold air to move around the meat is also important for initial chilling.
Underestimating Early Season Temperatures
It's easy to get caught up in the romance of a Montana fall hunt and assume cool weather. However, early season weather is notoriously fickle. One day can be chilly and overcast, the next sunny and scorching. Failing to check detailed weather forecasts for your specific hunting area is a critical oversight. Remember, temperature readings for towns can be very different from what you'll experience in the mountains or on the plains.
Always plan for the worst-case temperature scenario. Even if the forecast calls for cool highs, bring your best game bags, plenty of ice, and have a solid strategy for rapid cooling. Don't let a mild morning lull you into a false sense of security; that afternoon sun can quickly turn into a meat-spoiling menace. Being over-prepared for heat is far better than being caught off guard and losing your valuable harvest. Resources like Montana Hunt Planner Maps Explained can help you visualize your hunting district's topography and potential shaded areas for meat care.
Disclaimer
The information provided in this guide is for informational purposes only and is not a substitute for professional advice. Always refer to current Montana Fish, Wildlife & Parks regulations and best practices. Hunting involves inherent risks, and proper safety precautions should always be followed.