How to Glass and Grid Montana Mule Deer Country
The vast, wild landscapes of Montana are truly a sight to behold, but that immense beauty often comes with a challenge for mule deer hunters: how do you find those elusive bucks in such expansive country? It's a common frustration, staring out at miles of sagebrush, timber, and coulees, wondering where to even begin. This guide is all about equipping you with the time-tested, effective strategies of glassing and gridding, ensuring you can systematically pick apart that vast terrain and significantly increase your odds of locating a trophy mule deer.
The Art of Glassing for Montana Mule Deer
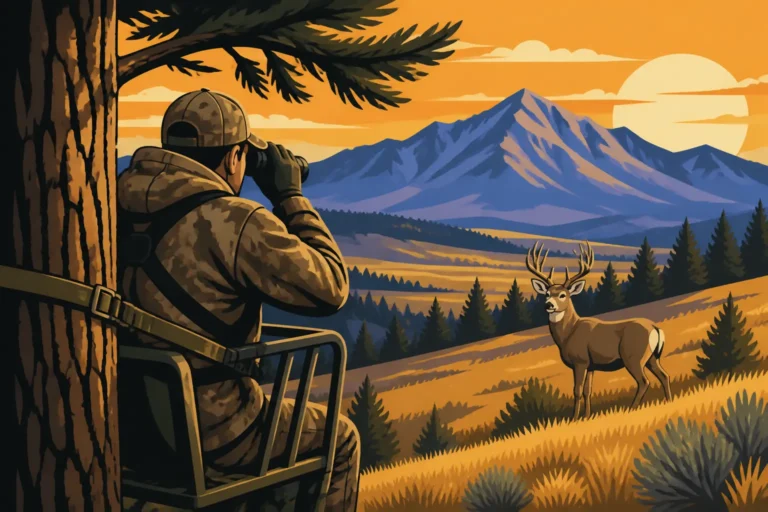
When you’re staring out at an entire mountain face or a sprawling sagebrush basin in Montana, trying to find a deer with your naked eye is like finding a needle in a haystack. This is where glassing comes in – it’s not just looking through binoculars; it’s a deliberate, disciplined method that drastically expands your visual reach and helps you spot the subtle clues that betray a mule deer’s presence.
Why Glassing is Your Most Powerful Tool
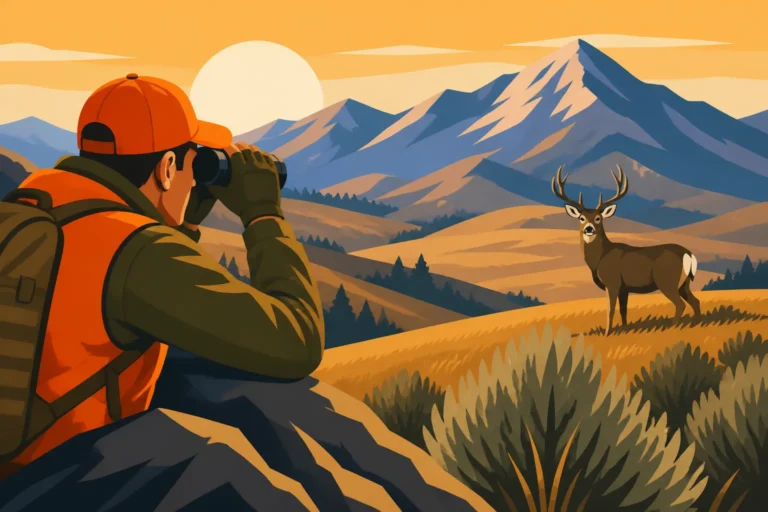
Montana's mule deer often inhabit country that can stretch for miles in every direction, characterized by everything from open sage flats and rolling hills to steep, broken timber and deep coulees. Trying to cover all that ground on foot is simply impossible and incredibly inefficient. Glassing allows you to survey huge swaths of potential mule deer habitat from a single vantage point, letting your optics do the legwork without burning precious energy or leaving scent all over the landscape. It's the ultimate low-impact scouting and hunting method for these wide-open spaces.
The beauty of glassing lies in its ability to reveal the tiny details. A horizontal line in a vertical world, the flick of an ear, a patch of hide that just doesn’t quite match the surrounding rock – these are the things your eyes, unassisted, would never catch. A good glassing session requires patience and discipline, but the payoff is immense, often allowing you to spot deer that are completely unaware of your presence, giving you the upper hand in planning your approach. If you're wondering what the best method to hunt Montana mule deer is, glassing is almost always at the heart of it.
Essential Optics for Mule Deer Hunting
To become a master glasser, you need the right tools, and they need to be quality. Don’t skimp here; your optics are arguably more important than your rifle in many mule deer hunting scenarios.
First, you'll need binoculars. For mule deer, something in the 10×42 or 12×50 range is ideal. The 10x magnification is versatile enough for most situations, providing a good balance of field of view and power. If you plan to spend extensive time staring across vast plains or high-country basins, a 12x or even 15x binocular can be incredibly beneficial, but remember that higher magnification usually means a narrower field of view and a more pronounced hand-shake if you're not on a tripod. Brands like Vortex, Leupold, and Zeiss offer excellent options at various price points.
Second, a spotting scope is non-negotiable for serious mule deer hunters. This is where you’ll do your detailed inspection once your binoculars have located a potential target. A 60-80mm objective lens with a variable magnification from 15-45x or 20-60x is standard. The larger objective lens gathers more light, crucial for early morning and late evening glassing. You'll be using this scope to judge antler size, confirm species, and truly pick apart tight cover.
Third, and perhaps most crucially, you must have a sturdy tripod. Handholding binoculars for more than a few minutes will lead to fatigue and an unstable image, making it incredibly difficult to spot subtle movement or discern details. A good tripod, often paired with a binocular adapter and a fluid head, transforms your binoculars and spotting scope into rock-solid viewing platforms. This stability is what allows you to really settle in and systematically pick apart the landscape. The difference between glassing off-hand and glassing from a solid tripod is like night and day. It directly impacts your ability to effectively glass for Montana mule deer.
Setting Up Your Glassing Position
Finding the right glassing spot is almost as important as having the right optics. You need a vantage point that gives you a commanding view of the terrain you want to hunt.
Look for high points: ridge lines, prominent knolls, or bluffs that allow you to overlook drainages, opposing hillsides, and expansive flats. When choosing your position, consider the wind direction – you don't want your scent blowing directly into the area you're watching. Also, pay attention to the sun's position. Early morning, set up so the rising sun is behind you, illuminating the slopes in front. In the evening, do the opposite. Staring directly into the sun is a quick way to strain your eyes and miss animals.
Once you’ve found a promising spot, comfort is key. You might be here for hours, so get comfortable. Use a small pad to sit on, lean against a rock, or even lay down if the terrain allows. The more relaxed and steady you are, the more effectively you can scan. Take your time setting up your tripod, ensuring it's stable and level. Having a comfortable, steady setup will allow you to execute a proper grid search, which we'll cover next.
Mastering the Grid Search Technique
Glassing is the act of looking, but gridding is the method of looking. It’s a systematic approach to scanning terrain that ensures you don't miss anything. Without a system, your eyes will naturally gravitate to "high percentage" areas, often overlooking the subtle spots where deer frequently hide.
Understanding the Grid
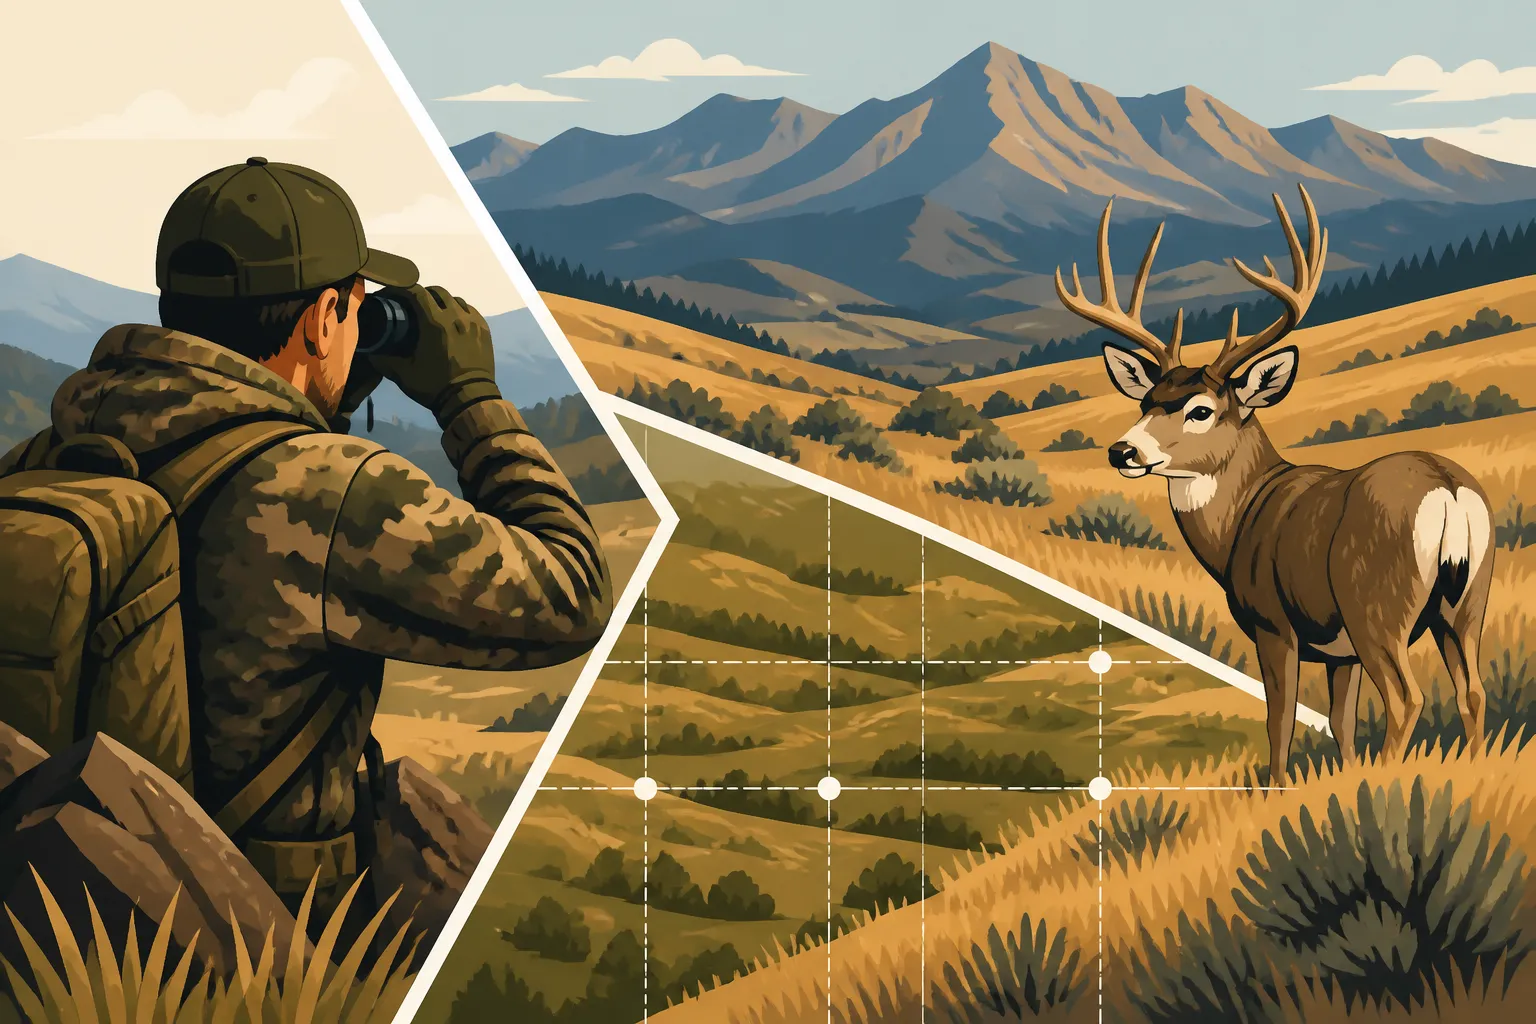
In the context of hunting, "gridding" means dividing the vast landscape in front of you into smaller, manageable sections – an imaginary grid – and then methodically scanning each section. Instead of haphazardly sweeping your optics across the landscape, you break it down, ensuring every square inch of potential habitat is examined. This approach is paramount when trying to locate animals that blend seamlessly into their surroundings, especially mule deer in their broken, diverse habitats.
Think of it like reading a book. You don't just randomly skim pages; you read line by line, from left to right, top to bottom. Gridding applies this same meticulous approach to the landscape. This method prevents your eyes from skipping over areas or getting fixated on one spot, a common mistake for eager hunters. It forces you to slow down and really pick apart the terrain. Compared to aimlessly wandering, gridding saves you miles of walking and significantly increases your detection rate. It's a foundational technique for effective Montana public land hunting strategy, especially when targeting keen-sighted mule deer.
Implementing the Grid in Practice
Once you're set up comfortably with your stable optics, here’s how to implement a grid search:
- Define Your Area: Choose a section of the landscape you want to thoroughly examine. This might be an entire hillside, a specific drainage, or a patch of timber. Don’t try to scan too large an area at once; break it down into manageable chunks that you can focus on intently.
- Establish Your Grid Lines: Mentally (or physically, by using landmarks) divide your chosen area into horizontal and vertical segments. Imagine invisible lines running across and up and down the terrain.
- Start at the Top Left: Begin your scan in the uppermost left corner of your chosen section. Move your binoculars or spotting scope slowly and deliberately to the right, sweeping across the terrain. Take your time. Don't just glance; scrutinize every rock, every shadow, every clump of sagebrush.
- Drop Down and Sweep Back: Once you reach the far right of that horizontal strip, drop your optics down slightly – just enough to overlap with the area you just scanned – and then sweep slowly back to the left.
- Repeat: Continue this "left-to-right, right-to-left" pattern, gradually moving down your grid until you have covered the entire section.
As you scan, pay attention to anything that looks "out of place." A horizontal line in a vertical world is often a deer's back. An ear, an antler tip, a patch of hide that's a slightly different shade of brown or grey than the surrounding earth – these are the clues. Modern scouting tools, like the digital maps offered by GoHunt, can also help you define these areas and plan your grid before you even step foot in the field, allowing you to identify potential bedding and feeding areas. This systematic approach is critical to how to glass and grid Montana mule deer country effectively.
The Importance of Slow and Deliberate Scanning
This can't be stressed enough: slow down. The biggest mistake new glassers make is rushing. They sweep too quickly, looking for an entire animal. Mule deer are masters of camouflage, and they often bed down in a way that only exposes a small part of their body. If you're moving too fast, you'll simply miss them.
Imagine you're trying to find a specific type of wildflower in a field. You wouldn't run through it; you'd walk slowly, carefully examining the ground. The same principle applies here. Your goal isn't just to see a deer; it's to see every deer. This means scrutinizing every patch of cover, every shadow, every cluster of trees or rocks. Look for pieces of a deer – an ear flicking, the curve of an antler, the distinct color of their hide against the drab browns and grays of their habitat.
Be patient. It might take 30 minutes, an hour, or even longer to thoroughly grid a single hillside. This is where your comfortable setup truly pays off. The more time you spend looking, the more you'll train your eyes to differentiate between deer and their surroundings, eventually seeing animals that others would walk right past. For deeper insights into their movements, understanding Montana mule deer habitat explained can provide valuable context for where to focus your deliberate scanning efforts.
Advanced Tips for Mule Deer Detection in Montana
Beyond the fundamentals of glassing and gridding, there are always ways to refine your technique and give yourself an edge. Mule deer are intelligent and adaptable, and so should you be.
Adapting to Weather and Time of Day
Mule deer behavior is heavily influenced by weather patterns and the time of day, and understanding this can make your glassing efforts far more productive.
Time of Day: The golden hours, early morning and late evening, are almost always the most productive for spotting mule deer. This is when they are typically most active, moving from bedding areas to feeding grounds, or vice-versa. At dawn, focus your glassing efforts on sun-drenched slopes where deer might be feeding or soaking up the first rays of warmth. As the sun climbs higher, they’ll often move into shaded timber or north-facing slopes to bed down. In the evening, reverse your strategy, looking for them as they emerge from cover to feed.
Weather:
- Cold Fronts: A sudden drop in temperature or a snowstorm can often kick mule deer activity into high gear, especially if it signals the onset of winter. They'll be feeding more aggressively to put on fat reserves.
- Rain/Snow: During light precipitation, mule deer might still be active, but heavy rain or snow can drive them into thicker cover or protected areas. Once the weather breaks, however, they often emerge to feed, making for excellent post-storm glassing opportunities.
- Wind: Mule deer will often seek sheltered areas out of strong winds, especially on ridge tops. Focus your efforts in protected drainages, leeward slopes, or within thick timber where the wind's bite is lessened.
- Thermals: In mountainous terrain, understanding thermals is crucial. Air flows uphill as the sun warms the earth in the morning and downhill as it cools in the evening. Position yourself so your scent is carried away from the areas you are glassing, adapting to these changing air currents.
Leveraging Technology and Digital Tools
Modern technology has revolutionized the way we scout and hunt, making the vastness of Montana a bit more manageable. While nothing replaces boots on the ground and time behind glass, these tools can greatly enhance your efficiency.
Mapping Applications: Apps like OnX Hunt and GoHunt provide incredibly detailed topographic maps, satellite imagery, and land ownership information right on your phone. Before your hunt, use these apps for extensive e-scouting. Identify potential glassing knobs, likely travel corridors, feeding areas, and thick bedding cover. You can mark waypoints, measure distances, and visualize the terrain in 3D, all from your armchair. This allows you to create a solid game plan before you even leave home. This can be especially helpful when considering how to E-scout Montana hunting units.
Google Earth: A powerful (and free) tool for initial reconnaissance. You can study terrain features, identify subtle changes in vegetation, and get a feel for the lay of the land from a bird's-eye view. Look for historical imagery that might show different vegetation patterns or water sources at various times of the year.
Offline Maps: Always download your mapping app's maps for offline use, as cell service is often non-existent in much of Montana's prime mule deer habitat. Carry a portable power bank to keep your devices charged. These digital aids, when used intelligently, can help you narrow down vast areas and direct your glassing efforts to the most promising mule deer country. They complement, rather than replace, your in-field skills. For detailed visual guides, reviewing Montana hunt planner maps explained can offer further assistance.
Interpreting Mule Deer Sign
While glassing is about spotting the deer themselves, understanding and interpreting their sign can provide invaluable clues that help you predict their movements and preferred habitats.
Tracks: Fresh tracks are one of the most direct indicators of recent deer activity. Look for clear, sharp hoof prints in soft dirt, mud, or snow. Larger, splayed tracks might indicate a heavier animal, like a mature buck. Pay attention to the direction of travel – are they heading to water, feeding areas, or bedding cover?
Scat: Mule deer droppings are typically pelleted. Fresh scat will be moist and dark, while older scat will be dry and lighter in color. The location of scat can tell you where deer are feeding or bedding. Abundant fresh scat indicates a popular area.
Rubs and Scrapes: While more common with whitetails, mule deer bucks will create rubs on small trees or saplings by rubbing their antlers against them, typically during the rut. Scrapes, which are patches of ground pawed clear of leaves, often with an overhanging branch worked with their antlers, are less common but do occur. These signs are indicators of a buck’s presence and can help you pinpoint an area he's actively using.
Bedding Areas: Look for flattened areas in tall grass, under conifers, or within thick brush where deer have rested. These are often in locations with good visibility downwind and thick cover upwind, allowing the deer to see danger approaching while having their back protected.
By piecing together these various signs with your glassing observations, you can start to pattern mule deer movement, learning where they feed, water, and bed. This comprehensive understanding of their habits, detailed further in resources like Montana Mule Deer Summer vs Winter Range, will dramatically improve your hunting success.
Common Mistakes and How to Avoid Them
Even seasoned hunters can fall into common traps when glassing and gridding. Recognizing these pitfalls and actively working to avoid them will sharpen your skills and increase your efficiency.
Rushing Your Scan
This is, without a doubt, the most prevalent mistake. The excitement of the hunt, the vastness of the landscape, and sometimes just a lack of patience can lead hunters to speed through their scans. You sweep your binoculars or spotting scope across a hillside, see nothing obvious, and quickly move on. The problem? Mule deer are incredibly good at blending in. They aren't going to be standing in the wide open, waving a flag.
How to avoid it: Force yourself to slow down. One effective technique is to set a timer. For a challenging piece of terrain, dedicate at least 15-20 minutes per small section before moving your optics to the next. If you're using a spotting scope, even longer. Don't be afraid to scrutinize every rock, every shadow. Look for patterns that are broken, colors that don't quite match. Practice in non-hunting scenarios; take your optics to a park or a distant hillside and try to spot birds or small animals. Train your eyes to pick out anomalies, not just whole animals. Remember, the goal is not to see a deer, but to see parts of a deer. That little horizontal line, that slight discoloration, the flick of an ear—these are your clues.
Neglecting Comfort and Stability
Glassing is often a sedentary activity, but that doesn't mean it's easy. Spending hours hunched over optics, shifting uncomfortably, or battling an unstable setup will quickly lead to fatigue, eye strain, and ultimately, missed animals. When you're uncomfortable, your focus wanes, and you become less effective.
How to avoid it: Invest in quality gear that supports long glassing sessions. A lightweight, sturdy tripod with a smooth fluid head is essential. Don't underestimate the value of a comfortable sitting pad or a small, portable hunting chair. If you're in rocky terrain, kneeling pads can be a lifesaver. Dress in layers to manage temperature fluctuations, ensuring you're neither too hot nor too cold. Bring plenty of water and snacks. The more physically comfortable you are, the longer you can remain focused and disciplined in your glassing. A stable platform and a comfortable body allow your eyes and mind to do their best work. When you're ready to make a move, ensuring your gear is optimized for the task is crucial, especially when employing Montana mule deer hunting: spot-and-stalk tactics.
Overlooking Obvious and Subtle Details
It's easy to get caught up in the allure of distant, vast landscapes and forget about what might be right under your nose. Similarly, the truly subtle details are often missed when you're only looking for the "classic" mule deer image.
How to avoid it:
- Don't forget the foreground: Before you start gridding the distant mountainside, quickly scan the immediate area around your glassing position. Deer can often be much closer than you think, especially if they're bedded or moving quietly.
- Look for "parts," not the whole: As mentioned, deer often bed in positions where only a small portion of their body is visible. Train your eye to look for an ear, a patch of hide, a black nose, the gleam of an antler tine, or a horizontal line that doesn't fit the natural contours of the landscape.
- Re-scan with different light: Sometimes a deer invisible in direct sunlight will pop out when a cloud passes over, or as the shadows lengthen. Don't be afraid to re-scan an area later in the day if it feels promising.
- Use your naked eye, then your optics: Occasionally, a large form might be caught by your peripheral vision that you'd miss if you immediately went to your binos. Do a quick scan with your unaided eyes, then settle in with your optics.
- Identify High Percentage Areas: Based on your e-scouting, knowledge of mule deer behavior, and previous experience, some areas will naturally hold more deer. These might be sheltered bedding pockets on north-facing slopes, benches just below ridge lines, or pockets of dense cover. While gridding every inch is important, pay extra scrutiny to these "high percentage" zones. You can delve into How to find Mule Deer in Montana for more insights on these locations.
By diligently avoiding these common mistakes, you’ll transform your glassing and gridding from a hopeful endeavor into a highly effective, systematic method for locating mule deer across Montana's challenging terrain.
Disclaimer
Hunting is an inherently dangerous activity. This guide provides information for educational purposes only and is not a substitute for proper training, experience, or adherence to local, state, and federal hunting regulations. Always prioritize safety, respect wildlife, and obtain all necessary licenses and permits before venturing into the field. Ensure you are familiar with all Montana Fish, Wildlife & Parks regulations and practice ethical hunting practices.