Montana Mule Deer Hunting: Rifle Tactics
Hunting mule deer in Montana with a rifle can feel like a daunting task, especially with the vast, open landscapes and the deer's uncanny ability to disappear into the terrain. It’s easy to get frustrated when you’ve glassed for hours, finally spotted a buck, only for him to vanish before you can get within range. This guide will walk you through effective rifle tactics, essential gear, and crucial preparation to increase your success rate and make your Montana mule deer hunt a truly rewarding experience.
Understanding Mule Deer Behavior for Rifle Hunting
Before you can effectively hunt mule deer with a rifle, you need to understand them. Mule deer are creatures of habit, but those habits are often dictated by their environment and the time of year. Knowing where they prefer to bed, feed, and travel can give you a significant advantage, especially when trying to close the distance for a shot.
Seasonal Movements and Habitat
Mule deer in Montana exhibit distinct seasonal migration patterns. In the high country, during summer, they're often found in alpine basins and timbered draws, seeking cooler temperatures and abundant forage. As autumn approaches and the first snows begin to fall, they start their migration to lower elevations, often moving into more open sagebrush flats, agricultural fields, and rimrock country. This migratory period, particularly around the general rifle season, can concentrate deer, making them more predictable but also drawing more hunters. Understanding these shifts is paramount. You might be hunting a specific mountain range in October, but by November, those same bucks could be 20 miles away in a different elevation band. Factors like snow depth, forage availability, and hunting pressure all influence these movements. Scouting before the season, or using tools like GoHunt's mapping features to analyze historical satellite imagery and topographical changes, can provide invaluable insights into traditional migration corridors and winter range. Knowing the likely escape routes and preferred bedding areas within these varied habitats is key to formulating a successful rifle approach.
When you're out there, remember that mule deer typically prefer broken, rough terrain. Think about areas with a mix of timber, sagebrush, and rocky outcroppings. They use this landscape to their advantage, disappearing into folds in the hillsides or behind a cluster of junipers with surprising ease. Identifying these key features in your chosen Montana Mule Deer Habitat Explained is crucial for anticipating their movements and planning your stalk.
Reading Sign and Rut Activity
Reading the landscape for mule deer sign is a skill that develops over time, but it’s critical for success. Fresh tracks in mud or dust, rubbed trees, fresh droppings, and well-used trails are all indicators of deer activity. When you find these signs, don't just note them; try to piece together the story they tell. Are the tracks heading towards water in the morning, or away from a bedding area towards feed in the evening? The size of the tracks can give you an idea of the deer's age and sex. Large, blocky tracks often indicate a mature buck.
The rut, which typically occurs from mid-November into early December in Montana, is a game-changer for mule deer hunting. During this period, bucks are much more active and less cautious as they search for does. This increased activity makes them more visible and vulnerable. You'll often find bucks scent-checking does, sparring with rivals, or simply cruising large areas, sometimes even in daylight. While the general rifle season often coincides with the pre-rut or early stages of the rut, capitalizing on this behavior requires patience and keen observation. You might not see the full-blown chasing of peak rut, but even the subtle increase in movement and territorial marking can be exploited. Pay attention to areas where does congregate, as bucks won't be far behind. Knowing Montana Mule Deer Rut Explained can help you time your hunt and adjust your tactics accordingly.
Essential Rifle Tactics for Montana Mule Deer
Mule deer hunting with a rifle in Montana is often a game of patience, long-range glassing, and strategic movement. It's rarely a "walk through the woods and shoot" scenario; rather, it’s a chess match against an animal perfectly adapted to its environment.
Spot-and-Stalk Techniques
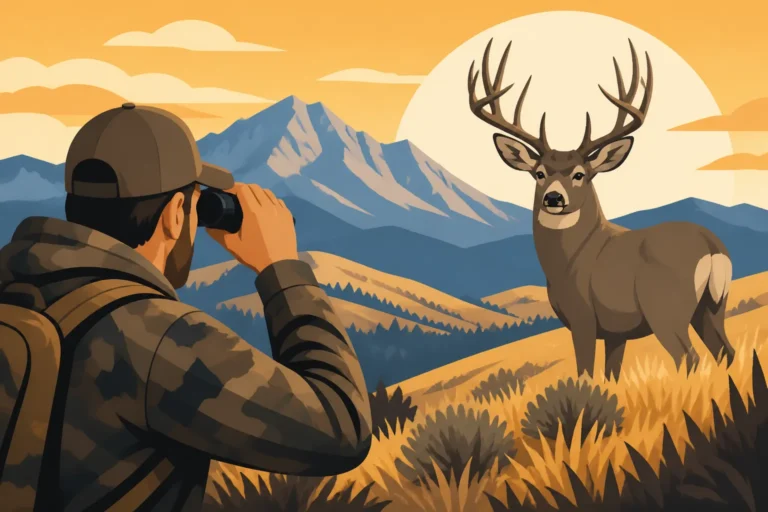
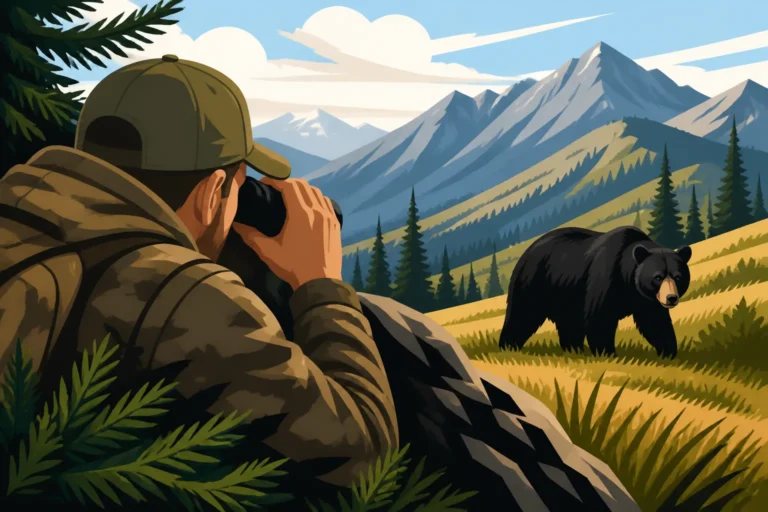
The spot-and-stalk method is arguably the most effective and widely used rifle tactic for mule deer in Montana. This involves using high-quality optics to locate deer from a distance, then carefully planning and executing a stalk to get within shooting range. The vast, open country of Montana is perfectly suited for this approach. You'll spend a lot of time on your glass, meticulously picking apart distant hillsides, coulees, and timber fringes. Don't just scan; grid the landscape, moving your binoculars or spotting scope in small, overlapping sections to ensure you don't miss anything. Pay close attention to subtle movements, the flick of an ear, or an antler tine catching the sunlight. A good pair of binoculars, like those from Vortex Optics or Kowa, and a reliable spotting scope are absolutely critical here. Without them, you're effectively hunting blind in much of Montana's "big country."
Once a buck is spotted, the real work begins. This is where planning your approach becomes paramount. You need to consider the wind direction, terrain features that offer cover, and the deer's current activity. Is he bedded down? Feeding? Moving? A bedded buck offers the best opportunity for a stalk, as he's stationary. Use topography to your advantage, staying below ridge lines, using draws and timber for concealment. The goal is to get within a comfortable shooting distance, which for many rifle hunters might be anywhere from 200 to 400 yards, depending on their proficiency and rifle setup. Practicing your long-range shooting is essential for Montana Mule Deer Hunting: Spot-and-Stalk Tactics. Don't rush the final stages of the stalk; one wrong move, one glint of sunlight on your scope, or a sudden gust of wind carrying your scent, and that buck will be gone.
Ambushing and Still-Hunting
While spot-and-stalk is dominant, ambushing and still-hunting can be incredibly effective, especially in areas with more cover or higher hunting pressure. Still-hunting involves moving slowly and deliberately through promising terrain, pausing frequently to observe your surroundings. Think of it as stalking without a specific animal spotted yet. You're trying to move as quietly as possible, taking a few steps, then stopping for several minutes to glass, listen, and scan for any sign of deer. This works well in timbered areas, dense draws, or along river bottoms where visibility is limited, and deer might be bedded close by. When still-hunting, always move into the wind or with a crosswind to keep your scent from reaching deer ahead of you.
Ambushing, on the other hand, is more stationary. It involves setting up in a strategic location where you anticipate deer movement, such as a pinch point between bedding and feeding areas, near a water source, or along a major game trail. This often means getting into position before dawn and waiting patiently for deer to move through as they transition from night feeding to daytime bedding, or vice versa. This can be particularly effective during periods of high hunting pressure when deer become more nocturnal or stick to thicker cover. By choosing a vantage point that offers a clear shooting lane and covers a likely travel corridor, you can intercept a buck without having to execute a complex stalk. For hunters focusing on areas like river bottoms where whitetail and mule deer might overlap, this can be a very productive tactic. This is different from Montana Whitetail Deer Hunting: Tree Stand Tactics but shares the principle of anticipating movement.
Shooting Fundamentals in Mountain Terrain
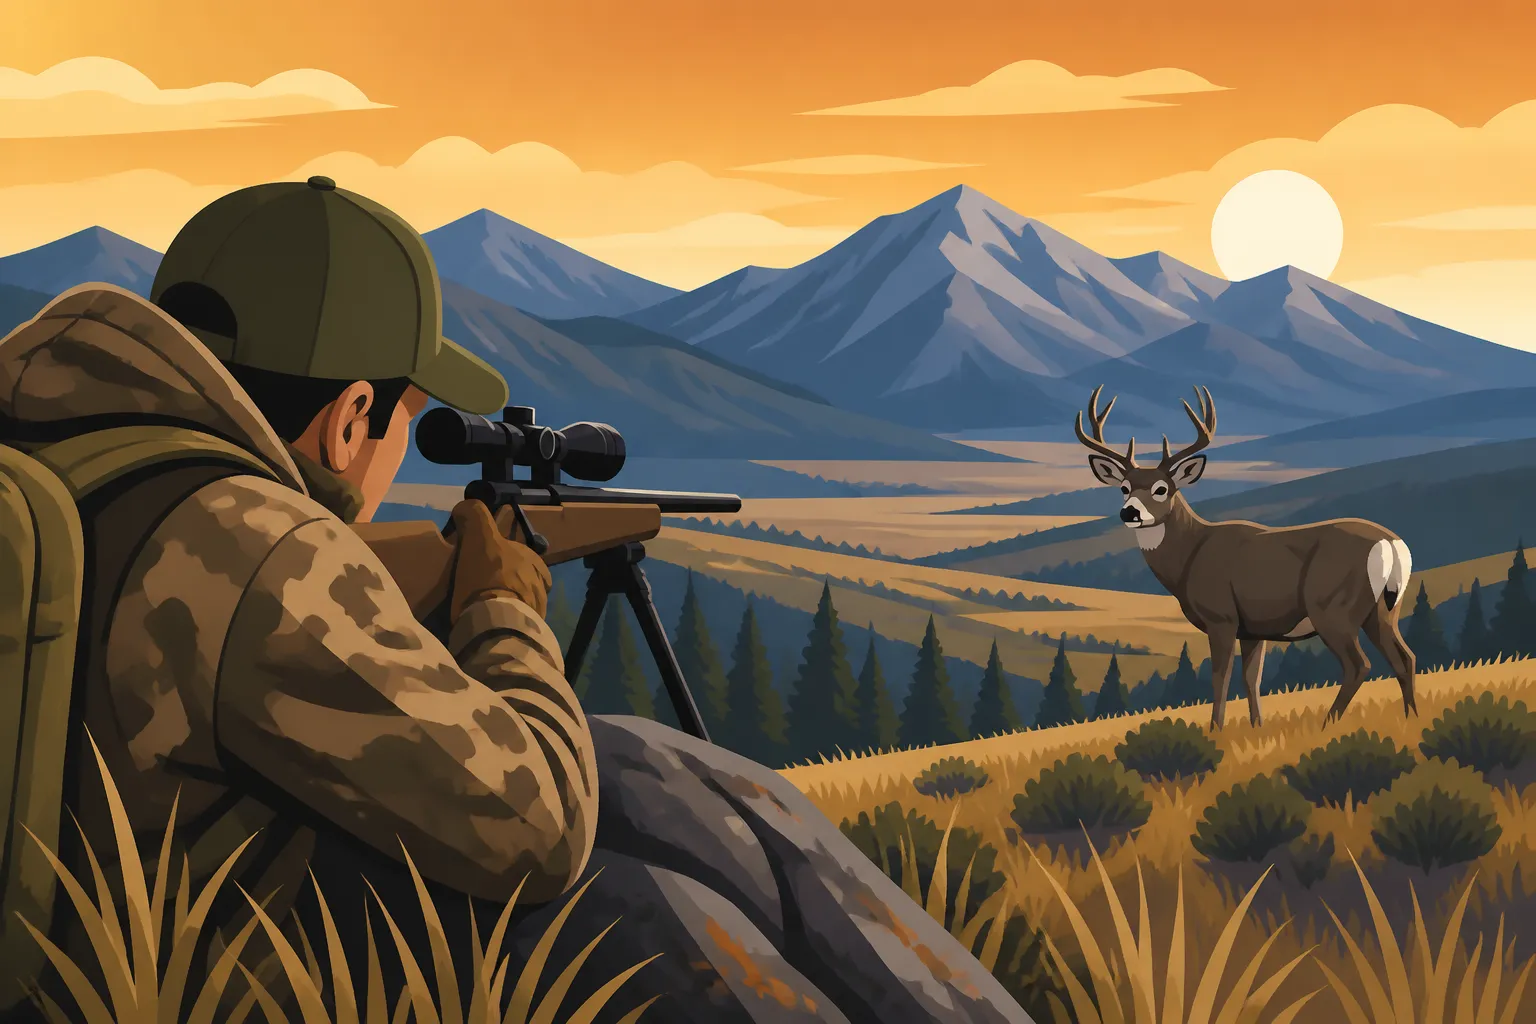
Shooting accurately in the mountains is a different beast than shooting on a flat range. You'll often be dealing with steep angles, unpredictable wind, and elevated heart rates. First and foremost, practice shooting from various field positions: prone, kneeling, sitting, and using trekking poles or a backpack as a rest. A bipod is almost essential for prone shots and can be a huge asset. Don't rely solely on bench rest practice. Simulate real hunting scenarios as much as possible.
When shooting uphill or downhill, gravity affects bullet trajectory less than it does on flat ground at the same distance, meaning your bullet will impact higher than if you shot horizontally at the same range. Most modern rangefinders account for this "angle compensation," giving you a "shoot-to" distance. Always confirm your rangefinder has this feature and trust it. Wind is another major factor; even a slight breeze can push a bullet significantly at longer ranges. Learning to read wind by observing vegetation, dust, or even mirage through your scope is a critical skill. Practice holding for wind drift. Finally, trigger control and breath control become even more important when your body is fatigued from a strenuous stalk. Take a moment to calm your breathing, settle into a stable shooting position, and execute a clean, smooth trigger pull. For detailed discussions on precision, review Montana Long-Range Shooting Considerations.
Gear and Preparation for Rifle Mule Deer Hunting
Success in Montana mule deer hunting with a rifle isn't just about tactics; it's also about having the right gear and being physically and mentally prepared for the challenges. The "Big Sky Country" can be unforgiving, and your equipment needs to be up to the task.
Rifle and Optics Selection
Your rifle is your primary tool, so choose wisely. For mule deer, a cartridge capable of ethical kills out to 300-400 yards, and potentially beyond if you are proficient and conditions allow, is ideal. Popular choices include the .270 Winchester, .30-06 Springfield, 7mm Remington Magnum, and .300 Winchester Magnum. Ensure your rifle is reliable, accurate, and that you are intimately familiar with its ballistics. Spend ample time at the range, practicing with the exact ammunition you intend to hunt with, and confirm your rifle is sighted in perfectly. Knowing your bullet drop at various ranges is non-negotiable. A ballistic calculator can be a huge asset here.
Optics are arguably as important as the rifle itself. High-quality binoculars (10×42 or 12×50 are common) and a spotting scope (15-45x or 20-60x) are essential for dissecting the vast Montana landscape. Look for clarity, light gathering capabilities, and durability. A good rangefinder, ideally with angle compensation, is also crucial for accurate shot placement in varied terrain. Investing in top-tier optics from brands like Swarovski, Zeiss, or Leupold can dramatically improve your ability to locate and evaluate deer from a distance. The difference between cheap optics and quality glass truly becomes apparent when you're trying to pick out a bedded buck miles away in low light. For more on this, consider resources on Best Optics for Montana Big Game.
| Component | Recommendation | Key Features |
|---|---|---|
| Rifle Caliber | .270 Win, .30-06, 7mm Rem Mag, .300 Win Mag | Flat trajectory, sufficient energy for deer, common ammunition availability |
| Rifle Type | Bolt-action (e.g., Remington 700, Savage 110, Winchester Model 70) | Reliability, accuracy, ease of use |
| Rifle Scope | 3-9×40, 4-12×40, or 4.5-14×44 (variable magnification) | Clear glass, reliable turrets, good light transmission, appropriate reticle |
| Binoculars | 10×42 or 12×50 | HD/ED glass, wide field of view, ergonomic, durable |
| Spotting Scope | 15-45x or 20-60x (preferably angled) | High magnification for distant glassing, portability |
| Rangefinder | Laser rangefinder with angle compensation | Accurate readings, compensates for uphill/downhill shots |
Physical Conditioning and Practice
Hunting mule deer in Montana is physically demanding. You'll be hiking steep ascents, navigating rocky terrain, and potentially covering many miles in a day, often at elevations that might challenge those not accustomed to it. Starting a rigorous fitness regimen well before your hunt is non-negotiable. Focus on cardiovascular endurance (hiking, running), strength training (especially legs and core), and flexibility. Hiking with a weighted pack, simulating what you'll carry, is an excellent way to prepare. Don't underestimate the impact of elevation; if you're coming from sea level, even moderate exertion can feel like a marathon at 7,000 feet.
Mental preparation is just as important. The patience required for glassing for hours, the discipline to pass on a marginal shot, and the resilience to keep pushing when conditions are tough—these are all skills that can be honed. Practice your shooting not just from a bench but from various field positions, after hiking, with an elevated heart rate. This replicates the real-world conditions you'll face. Understand your limitations and those of your gear. A physically fit hunter who practices shooting under realistic conditions has a significant advantage over one who relies solely on expensive equipment. Consider a specific regimen like the Montana Elk Hunt Fitness Plan to adapt for mule deer.
Post-Shot Procedures and Game Recovery
The moment of truth—the shot—is only one part of the hunting equation. What happens next is just as critical for a successful and ethical hunt. Recovering your game quickly and efficiently is a responsibility every hunter shoulders.
Tracking and Recovery
Once you've taken a shot, the adrenaline surge can be overwhelming. But it's crucial to stay calm and observe. Mark the exact spot where the deer was standing when you shot, and where it was last seen. Use landmarks like unique rocks, trees, or bushes. If the deer runs, watch its direction of travel and body language. Did it stumble? Tail down or up? These details provide valuable clues. If you suspect a good hit, especially a lung shot, give the animal time. A minimum of 30 minutes, or even a few hours for a gut shot, allows the deer to expire quietly without running further. This patience is often the hardest part, but it significantly increases your chances of finding the animal.
Start tracking at the shot site. Look for blood, broken branches, disturbed earth, or hair. If you find blood, note its color and consistency: bright red, frothy blood indicates a lung hit; darker, thick blood suggests a liver or muscle hit; greenish fluid points to a gut shot. A consistent blood trail is a clear sign of a good hit. If the trail is sparse, or if snow is on the ground, methodical grid searching might be necessary. Having a tracking partner can make this process more efficient and less prone to error. Always move slowly and deliberately, constantly looking forward for the animal and backward for the trail. If you lose the trail, back up to the last confirmed sign and re-evaluate. Knowing How to Pack Out an Elk in Montana provides excellent insights into recovery in challenging terrain, which can be adapted for mule deer.
Field Dressing and Meat Care
Once you've recovered your mule deer, the clock starts ticking on meat preservation, especially in warmer early season conditions. The first step is to field dress the animal immediately. This involves removing the entrails to allow the carcass to cool down as quickly as possible. Make sure you carry a sharp knife, game bags, and possibly latex gloves for hygiene. Be careful and precise, aiming to keep the meat clean. In more remote backcountry settings, you might consider the gutless method, which involves quartering the animal and deboning it in the field without gutting. This can lighten your load significantly and is often preferred for solo hunters or those packing out over long distances.
After field dressing or quartering, get the meat into breathable game bags. This protects the meat from flies and dirt while allowing it to cool. Hang the game bags in a shady, cool, well-ventilated spot, preferably off the ground. In Montana's often rugged terrain, this might mean hanging them from a tree branch or propping them on logs. If temperatures are warm, cooling the meat as rapidly as possible is vital to prevent spoilage. You might even need to consider packing ice or dry ice for the trip home. The goal is to get the meat to a butcher or into a cooler as quickly as possible. Proper meat care is not just about taste; it’s an ethical imperative to honor the animal and utilize its bounty fully.
Disclaimer
Always consult the most current Montana Fish, Wildlife & Parks regulations before planning any hunting trip, as rules and season dates can change. This guide provides general information and should not be considered a substitute for official regulations.