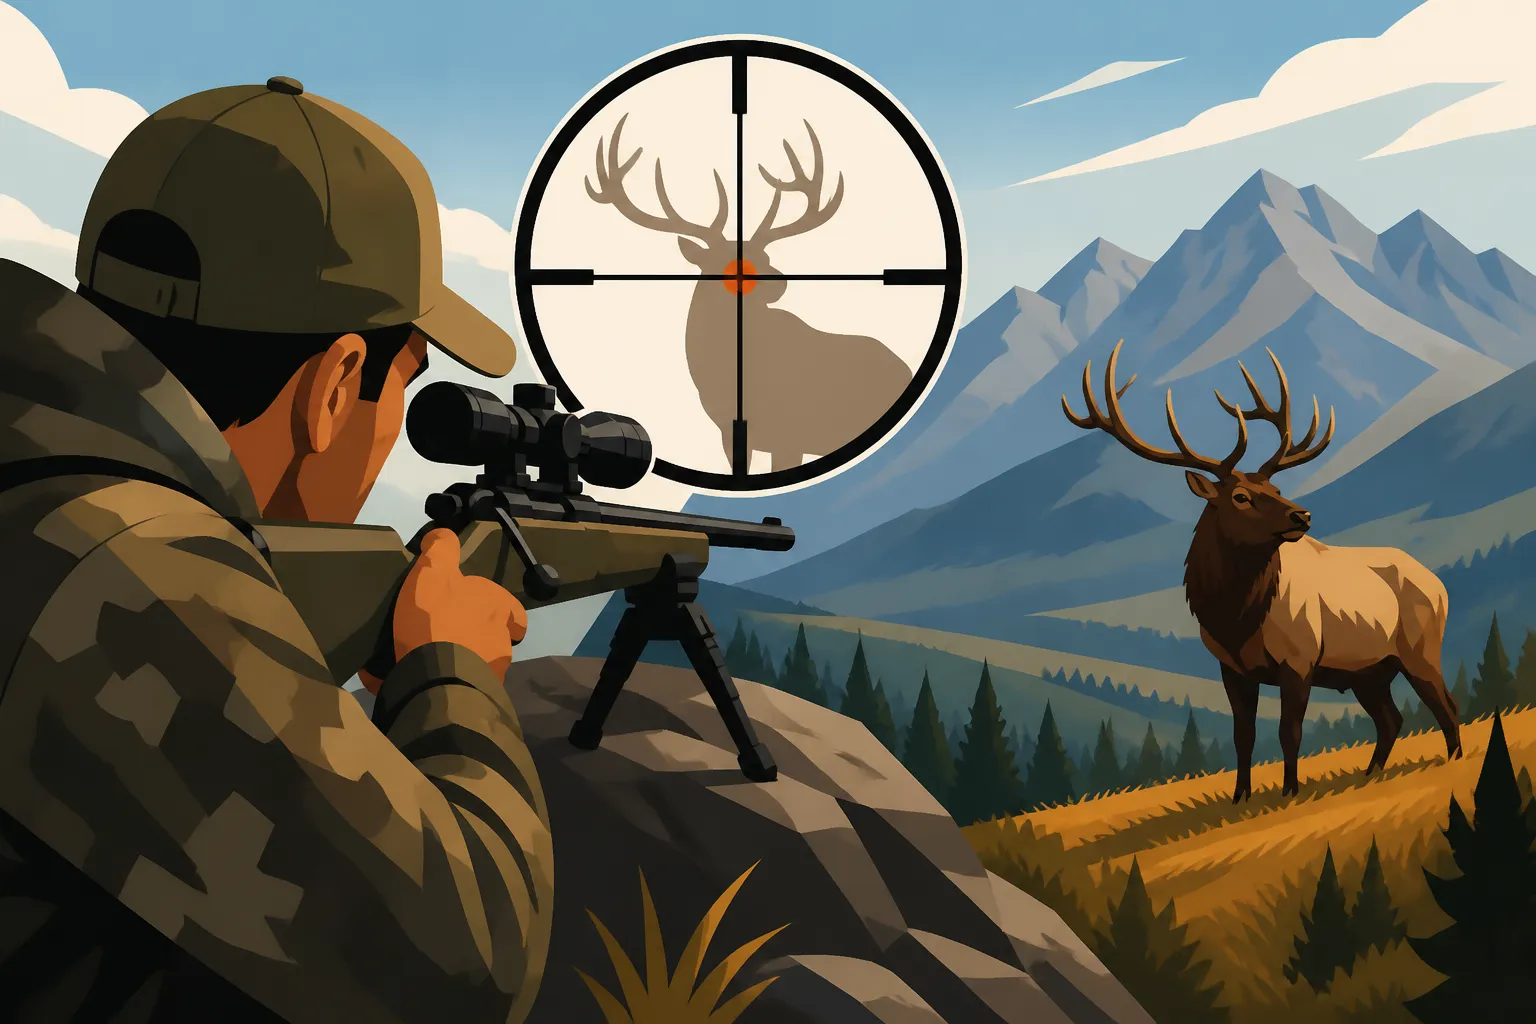
How to Sight In for a Montana Elk Hunt
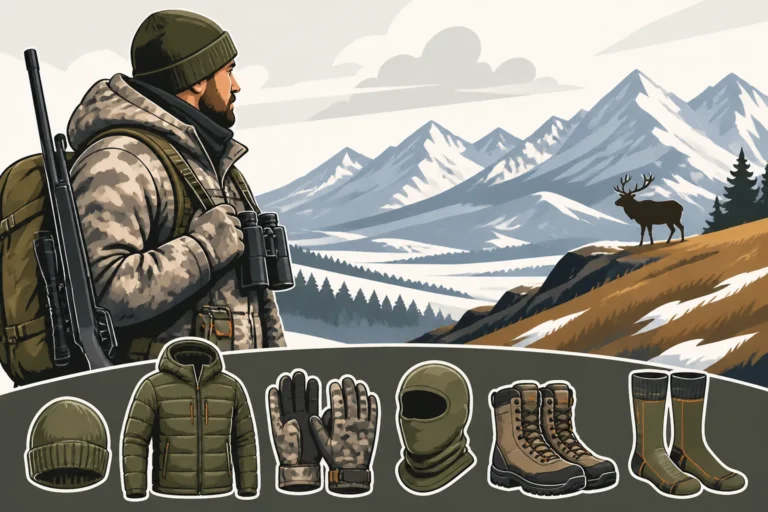
There's nothing quite like the dream of a Montana elk hunt. You've scouted for months, probably drawn a coveted tag, and invested countless hours in physical conditioning. But when you finally come face-to-face with that bull of a lifetime, the last thing you want is a missed shot due to a rifle that isn't perfectly dialed in. This guide will walk you through the essential steps and nuanced considerations for sighting in your rifle, ensuring you're confidently prepared for the unique demands of hunting elk in Big Sky Country.
The Critical Importance of a Precisely Sighted-In Rifle for Montana Elk
Hunting elk in Montana isn't like shooting targets at your local flat-range back home. The terrain is rugged, the weather unpredictable, and the animals themselves are tough and wary. An inaccurate rifle setup doesn't just mean a missed opportunity; it carries serious ethical implications for the animal. Taking the time to properly sight in your rifle, and understand its capabilities, is arguably the most crucial step you can take before heading into the elk woods.
Understanding Montana's Varied Terrain and Shot Distances
Montana is a land of incredible contrasts. You might find yourself glassing vast, open ridges where a 400-yard shot is not uncommon, or stalking through dense, dark timber where an elk might bust out at 50 yards. This incredible diversity means you need a rifle setup that can handle a wide range of shot distances and environmental challenges. Many hunters focus solely on long-range accuracy, but a truly successful elk hunter is just as proficient at a quick, close-range follow-up shot as they are at a precision shot across a canyon.
Consider the classic Montana scenario: you've hiked miles into the backcountry, finally located a herd, and now you're trying to get into position. The bull might be feeding on a steep hillside, forcing an uphill shot, or bedded in a deep draw below you. These angles significantly impact bullet trajectory. Without a solid understanding of your rifle's zero and ballistic performance, these shots become guesswork, and that's not how we want to hunt. Ethical hunting dictates that we take high-percentage shots, and that means knowing exactly where your bullet is going to hit under various conditions.
The Impact of Confidence and Ethical Hunting
A properly sighted-in rifle instills confidence, and confidence is a game-changer when buck fever sets in. Imagine this: you've been grinding for days, you're exhausted, cold, and a magnificent bull steps out into a small opening. Your heart is pounding. If there's even a sliver of doubt about your rifle's accuracy, that doubt can be paralyzing. Conversely, if you've spent hours on the range, meticulously verifying your zero and practicing at various distances, you'll be able to focus solely on the shot process itself.
Beyond personal confidence, there's a profound ethical responsibility that comes with hunting. Our goal is always a clean, humane harvest. A poorly placed shot due to an improperly sighted rifle is a preventable tragedy. Elk are incredibly resilient animals, and even a gut shot can lead to a prolonged, agonizing death. Every hunter has a duty to ensure their equipment is in perfect working order and that they can place their shots precisely where they intend. This dedication to precision starts with the sighting-in process and extends to constant practice and self-assessment. It’s a commitment we owe to the animals we pursue and to the hunting heritage we uphold.
Step-by-Step Guide to Sighting In Your Elk Rifle
Sighting in your rifle isn't a race; it's a methodical process that requires patience and attention to detail. Skipping steps or rushing through it will only lead to frustration and uncertainty later on. Think of it as building the foundation for your entire hunt.
Pre-Range Prep: Cleaning, Mounting, and Ammo Selection
Before you even head to the range, a little preparation goes a long way. First, ensure your rifle barrel is meticulously clean. Any residue or fouling can affect accuracy, especially during the initial shots. Use a good bore cleaner and brushes, following the manufacturer's recommendations.
Next, focus on your scope. Ensure it is correctly mounted and securely fastened. Loose scope rings or bases are a common culprit for inexplicable accuracy issues. I always recommend using a torque wrench to tighten scope rings to the manufacturer's specified foot-pounds. Over-tightening can damage the scope tube, while under-tightening can allow it to shift under recoil. Use a scope level to ensure your reticle is perfectly vertical. This might seem minor, but an un-leveled scope will cause your bullet impact to drift horizontally when making vertical adjustments at longer ranges, leading to frustrating misses. Many new hunters overlook this critical step.
Finally, let's talk about ammunition. Consistency is key. Choose the specific factory load or handload you intend to use for your Montana elk hunt and stick with it. Different bullet weights, types, and even different lots of the same ammunition can produce varying points of impact. For instance, a 180-grain bonded bullet from Federal might shoot differently than a 180-grain monolithic bullet from Barnes, even in the same caliber. For a large animal like an elk, opt for a premium bullet designed for deep penetration and controlled expansion, such as Barnes TSX, Nosler AccuBond, Hornady ELD-X, or Swift A-Frame. Buy several boxes from the same production lot if possible, ensuring you have enough for sighting in, practice, and the hunt itself. If you're pondering Best Rifle Calibers for Montana Elk, remember that bullet choice within that caliber is just as vital.
Zeroing at 100 Yards: The Foundation
The 100-yard zero is the standard starting point for a reason—it minimizes variables and allows you to establish a consistent baseline.
- Bore Sighting: Begin by bore sighting your rifle. You can do this with a laser bore sighter inserted into the barrel, or by removing the bolt and looking directly down the barrel at a target placed 25 yards away. Align the bore with the center of the target, then adjust your scope's crosshairs to match. This gets you "on paper" quickly, saving you time and ammunition.
- Initial Shots: At the 100-yard line, set up a large target. Use a rock-solid rest – sandbags, a bipod, or a shooting sled – to eliminate human error as much as possible. Fire a three-shot group, aiming for the center. If you're a new shooter, consider having an experienced friend spot for you to see where your shots are actually impacting.
- Adjusting Your Scope: After your first group, identify the center of the group. If your group is 2 inches low and 1 inch left, you'll need to adjust your scope. Most rifle scopes have turrets with 1/4 MOA (Minutes of Angle) clicks, meaning each click moves the point of impact 1/4 inch at 100 yards. To move your group 2 inches up, you'd dial 8 clicks up (2 inches / 0.25 inches/click = 8 clicks). To move it 1 inch right, you'd dial 4 clicks right (1 inch / 0.25 inches/click = 4 clicks).
- Repeat and Refine: Make the adjustments, then fire another three-shot group. Repeat this process until your groups are consistently hitting dead center or very close to it. Once you're consistently grouping within an inch or so at 100 yards, you've established your primary zero. Don't rush this part. Wait for the barrel to cool between groups, especially if you're shooting a magnum caliber. A hot barrel can string shots.
Extending Your Zero: Beyond 100 Yards for Elk
While a 100-yard zero is a great starting point, most Montana elk hunters opt for a 200-yard or even 250-yard zero. Why? Because it flattens the trajectory of many common elk cartridges, making point-and-shoot scenarios easier at mid-ranges without needing to hold over.
Let's look at a common scenario for a .30-06 Springfield with a 180-grain bullet:
| Zero Distance | Drop at 100 Yards | Drop at 200 Yards | Drop at 300 Yards | Drop at 400 Yards | Drop at 500 Yards |
|---|---|---|---|---|---|
| 100 Yards | 0 inches | -4.5 inches | -14.5 inches | -31.5 inches | -57 inches |
| 200 Yards | +1.7 inches | 0 inches | -8.5 inches | -23 inches | -45 inches |
As you can see, with a 200-yard zero, your bullet will be slightly high at 100 yards (around 1.5-2 inches, depending on caliber and velocity), but dead-on at 200. More importantly, it minimizes holdover until past 250-300 yards. This "maximum point-blank range" concept means you can often hold dead-on the vitals for shots out to 300 yards or more, simplifying a quick shot in the field.
After achieving your 100-yard zero, move your target out to 200 or 250 yards. Fire a group and note where the bullets are impacting relative to your point of aim. Adjust your scope so that your shots are now hitting dead-on at this extended range. Once you've established your 200 or 250-yard zero, move the target back to 100 yards and verify that your point of impact is indeed slightly high as expected. This confirms your trajectory. Always verify, verify, verify. For more detailed insights into trajectory and ethical shot distances, you might find a guide like Montana Long-Range Shooting Considerations particularly helpful.
Advanced Considerations for Montana Elk Hunting Precision
Getting a solid zero on a flat range is a great start, but Montana hunting conditions rarely replicate a controlled environment. True precision for elk hunting means accounting for the elements and practicing in realistic scenarios.
Ballistics and Environmental Factors: Wind, Elevation, Temperature
Montana's sprawling landscapes mean that environmental factors play a huge role in bullet flight. Ignoring them is a recipe for a missed animal.
- Wind: Wind is arguably the biggest variable to master in Montana. A 10 mph crosswind can push a bullet several inches off target at 200 yards, and over a foot at 400 yards, depending on caliber and bullet design. Stronger winds, or swirling winds in mountain valleys, exacerbate this. You need to learn to read the wind by observing vegetation, dust, or even mirage through your spotting scope. Practice calling wind, then verify your calls with actual shots. For deeper understanding, check out How to Use the Wind Hunting Montana Elk.
- Elevation: Montana's mountains are no joke. Hunting at 8,000-10,000 feet is common in many districts. At higher altitudes, the air is thinner, meaning less drag on your bullet. This results in a slightly flatter trajectory and higher velocity compared to shooting at sea level. If you sight in at 1,000 feet, and then hunt at 8,000 feet, your bullet will likely shoot high. While the difference might be negligible at 100-200 yards, it becomes significant at longer ranges. Modern ballistic calculators (many apps are available, and platforms like GoHunt often integrate such tools with their mapping features) can account for elevation changes, giving you precise adjustments.
- Temperature: Temperature also affects powder burn rate and air density, subtly altering bullet velocity and trajectory. Cold weather, typical of late-season elk hunts or high-elevation archery hunts, can reduce muzzle velocity. While less impactful than wind or elevation, it's another variable to be aware of.
To truly prepare, consider using a ballistic app on your phone. Input your bullet's ballistic coefficient, muzzle velocity, and zero distance. Then, you can adjust for estimated range, wind, elevation, and temperature to get real-time holdover or turret click solutions. Creating a "dope card" with this information for common ranges you expect to shoot is invaluable in the field.
Practicing for Real-World Scenarios
A flat bench rest range session is essential, but it’s only the first step. To become a proficient elk hunter, you must practice shooting from positions you'll actually encounter in the field.
- Unsupported Positions: Elk often appear when you least expect them, and you might not have time to set up a perfect prone shot. Practice shooting off your backpack, from kneeling, or even standing, using a tree or trekking pole for support. Simulate a quick, steady shot.
- Uphill and Downhill Shots: As mentioned, angled shots in the mountains change effective distance. When shooting uphill or downhill, gravity acts more directly on the bullet, effectively shortening the horizontal distance the bullet travels against gravity. The rule of thumb is to shoot for the horizontal distance to the target, not the actual line-of-sight distance. Many modern rangefinders, like those from Leupold or Vortex, have an Angle Range Compensation (ARC) feature that gives you the "shoot-to" distance. If yours doesn't, there are simple formulas or charts you can use. Practice these shots on varied terrain if possible, like a local gravel pit or private land with permission.
- Shooting Under Fatigue: Elk hunting is physically demanding. You'll often be huffing and puffing after a steep climb when you finally spot an animal. Try doing some strenuous exercise (like burpees or a quick jog) before your practice session to get your heart rate up. Then, immediately try to make a precise shot. This simulates hunting fatigue and helps you learn to control your breathing and calm your nerves under pressure. It's a critical component of Montana Elk Hunt Fitness Plan beyond just cardio.
Verifying Your Setup in Hunting Conditions
Before your hunt, take your rifle and gear out to a place that mimics hunting conditions as closely as possible. If you hunt in forested mountains, go to forested mountains. If you hunt open plains, find some open plains.
Set up your tent, hike with your pack, and carry your rifle as you would on the hunt. Then, after a solid hour or two of hiking, maybe in the morning chill, set up an impromptu target and take a shot. How does it feel? Are your hands cold? Is your clothing cumbersome? These are the real-world variables that can impact your performance. Practice using your rangefinder quickly, dialing your scope (if you plan to), or making holdover calculations. This kind of field verification often uncovers little issues you never noticed on a manicured shooting range. For instance, you might realize your scope caps are noisy, or your sling rubs uncomfortably. Addressing these small things before the hunt can make a big difference when it counts. It’s all part of preparing for a challenging season like How to Hunt Montana's General Rifle Season.
Optimizing Your Gear for a Successful Montana Elk Hunt
Sighting in your rifle is just one piece of the puzzle. The effectiveness of your setup hinges on the quality and integration of all your gear, from optics to ammunition.
Choosing and Mounting Quality Optics
Your rifle scope is your window to ethical shot placement. For Montana elk, you need a scope that is robust, reliable, and offers excellent light transmission for those crucial dawn and dusk hours. Brands like Leupold, Vortex, and Swarovski are popular among serious hunters for their durability and clarity.
When mounting your scope, ensure it's positioned for proper eye relief. This is the distance between your eye and the ocular lens, and it's critical to avoid scope bite (the scope hitting your eyebrow under recoil) and to get a full, clear sight picture quickly. Check it while shouldering your rifle in various positions, not just from a bench. Use a good quality, anti-cant device or scope level to prevent accuracy issues, especially on angled shots. Many scopes today offer illuminated reticles, which can be invaluable in low light conditions or against dark timber backgrounds, helping you maintain a precise aiming point. Understanding Best Optics for Montana Big Game will certainly enhance your hunting prowess.
Ammunition Consistency and Field Accuracy
We touched on this earlier, but it bears repeating: once you've chosen your hunting ammunition, stick with it. Don't swap bullet types or manufacturers just before your hunt. Even a small change can shift your point of impact. For example, if you sighted in with practice ammo, then switch to premium hunting ammo, fire a few groups to verify your zero. You might find it's off by an inch or two, which could be the difference between a clean kill and a frustrating miss at 300 yards.
Consider the bullet itself. For elk, a heavy-for-caliber, bonded, or monolithic bullet is generally preferred. These bullets retain their weight better and penetrate deeper, vital for reaching the vitals of a large, muscular animal like an elk. While lighter, faster bullets might have a flatter trajectory, their terminal performance on elk can be less reliable. Always buy a sufficient quantity of your chosen ammunition, ideally from the same production lot, to ensure maximum consistency from batch to batch. This consistency is paramount for understanding your rifle's performance for various Montana Elk Hunting: Rifle Tactics.
Rangefinders and Ballistic Solvers
In the vast expanses of Montana, accurately judging distance to an animal is notoriously difficult, especially across ravines or up steep mountainsides. A high-quality rangefinder is an absolute necessity, not a luxury. Brands like Leupold, Vortex, Sig Sauer, and Bushnell offer excellent hunting rangefinders, many with angle compensation features that provide the "shoot-to" distance for angled shots.
Pairing your rangefinder with a ballistic solver or a detailed dope card is the ultimate precision setup. Many hunters use apps like Strelok Pro, Ballistic AE, or integrated systems like those offered by GoHunt's membership, which combines detailed unit data with robust mapping and ballistic tools. You can input your specific rifle, scope, and ammunition data into these apps, and they'll calculate precise holdovers or turret adjustments for virtually any distance, wind, temperature, and elevation. Print out a simplified dope card or tape a small chart to your rifle stock or scope bell with common ranges (e.g., 200, 300, 400, 500 yards) and the corresponding adjustments. This allows for quick, on-the-fly corrections, taking the guesswork out of longer shots in dynamic hunting situations. Knowing How to Judge Distance in Montana's Mountains is a skill, but technology helps refine it.
Remember, technology is a tool. It doesn't replace practice. You still need to be proficient in using your rangefinder quickly and applying the data it provides under pressure. Practice ranging targets, looking up the adjustment, and making the shot as quickly and smoothly as possible. This integrated approach, combining solid rifle mechanics with modern ballistic tools, will give you the utmost confidence and precision when that Montana bull finally steps into your crosshairs.
Disclaimer
Hunting carries inherent risks, including injury and death. Always prioritize safety, follow all local and state regulations, and obtain proper licenses and permits. The information provided in this guide is for informational purposes only and should not be considered a substitute for professional instruction, proper training, or personal responsibility. Always consult Montana Fish, Wildlife & Parks regulations for the most current and accurate hunting laws.